how to flatten eva foam
How to Flatten EVA Foam Like a Pro
Why Flatten EVA Foam?
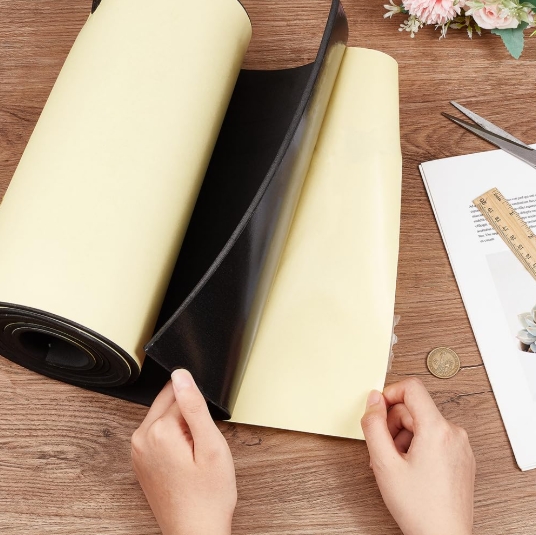
Before diving into the steps, let’s clarify why you’d want to flatten it. EVA foam is often sold in rolls to save space, but folding or rolling can leave unsightly creases. A flat piece is essential for:
-
Crafts and DIY projects (e.g., cosplay armor, yoga mat covers).
-
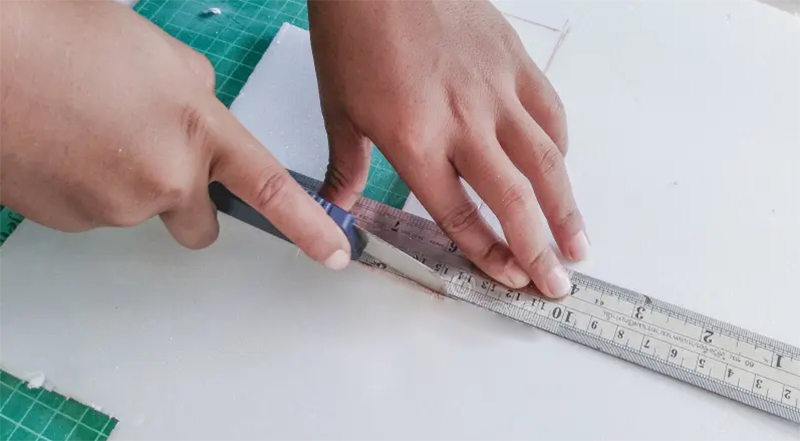
Precision cutting (no uneven edges!).
-
Comfort in footwear (smooth inserts = happy feet!).
-
Professional packaging (no lumpy edges for fragile items).
Tools You’ll Need
Flattening EVA foam doesn’t require fancy gadgets. Here’s what you’ll need:
-
A flat surface (table, ironing board, or even the floor).
-
Heavy books or weights (old textbooks work great!).
-
A hairdryer or heat gun (for stubborn creases).
-
Iron and cloth (optional, but useful for thicker foams).
-
Patience (seriously—rushing won’t help!).
Step-by-Step Guide to Flatten EVA Foam
1. Let Gravity Do the Work
Start by unrolling or unfolding the foam and laying it flat on your surface. Place heavy books or weights along the edges and creases. Let it sit for 24–48 hours. This works best for minor creases.
2. Heat It Up (For Stubborn Creases)
If gravity alone isn’t cutting it, apply heat:
-
Use a hairdryer or heat gun on low/medium heat.
-
Gently wave the heat over the creased areas for 10–15 seconds.
-
Don’t overheat—EVA foam can melt if exposed to high temps!
-
Press the foam flat with your hands or a cloth-covered iron.
3. Iron It Smooth
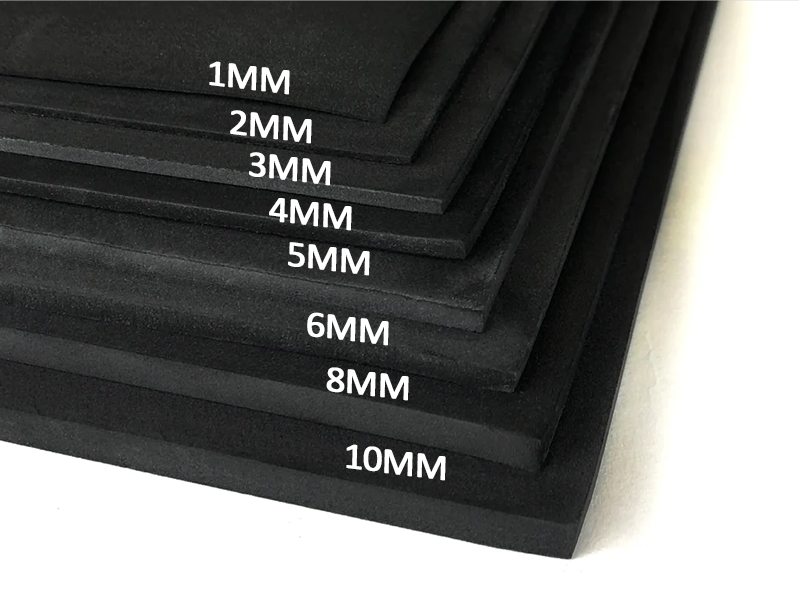
For thicker EVA foam (6mm+), try this method:
-
Set your iron to low heat (no steam!).
-
Place a thin cloth over the foam to protect it.
-
Iron in slow, circular motions for 1–2 minutes.
-
Let it cool completely before removing weights.
Common Mistakes to Avoid
-
Using too much heat (risk of melting or warping).
-
Skipping the cloth barrier (direct contact with the iron can damage the foam).
-
Rushing the process (give the foam time to settle!).
Pro Tips for Perfect Results
-
For large pieces, stack weights evenly to distribute pressure.
-
Store flattened foam under a heavy board to prevent future curling.
-
If you’re working with colored EVA foam, test the heat method on a small, hidden corner first.
Final Thoughts
Flattening EVA foam doesn’t have to be a headache. With a little patience and the right techniques, you’ll have a smooth, usable sheet in no time. Whether you’re crafting, packing, or creating custom insoles, a flat base is the key to success!
How to Mold EVA Foam
how is eva foam made