
eva foam armor build
2024-05-15
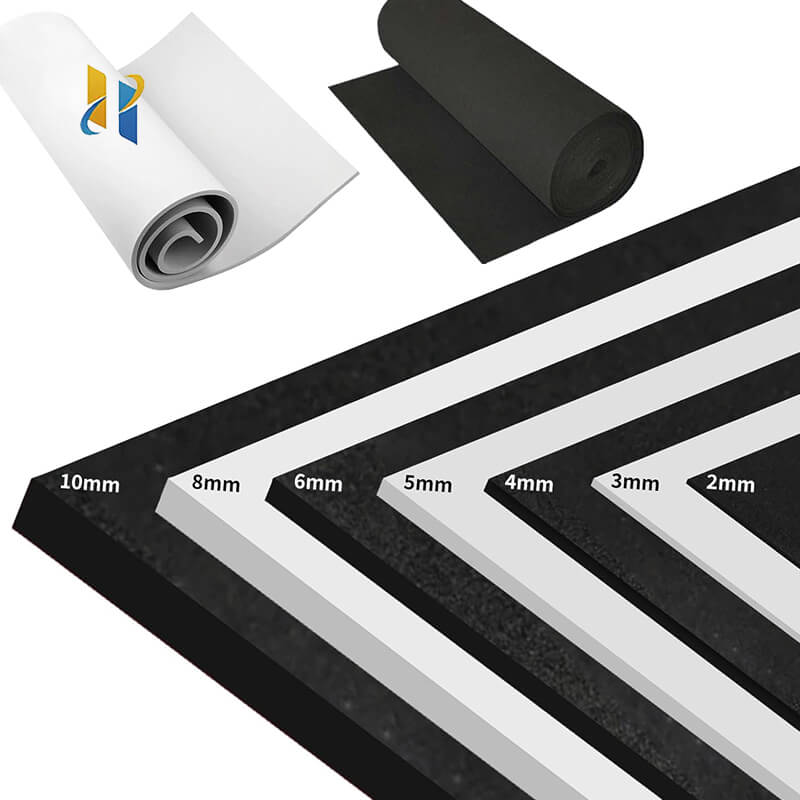
Title: Mastering the Art of Eva Foam Armor Builds: A Comprehensive Guide
The world of cosplay is filled with creative minds eager to transform into their favorite characters. Among the many materials that bring these transformations to life, Eva foam stands as a cornerstone for crafting intricate and realistic armor pieces. An Eva foam armor build is not just a project; it's a journey of creativity, precision, and patience. In this guide, we'll explore the essentials of constructing your own Eva foam armor, from selecting the right materials to the final touches that will make your cosplay truly stand out.
Eva foam, known for its lightweight yet sturdy nature, is the go-to material for cosplayers looking to create armor that is both comfortable to wear and visually stunning. The process of an Eva foam armor build begins with a clear vision of the character you wish to embody. Once you have your design in mind, it's time to gather your tools and materials.
Essential tools for an Eva foam armor build include a sharp knife for cutting, a heat gun or hair dryer for shaping, contact cement for bonding, and a variety of sanding tools for smoothing out edges. Additionally, paints and sealants are crucial for achieving the desired finish and durability.
The first step in your build is to create a pattern or use pre-existing templates. Templates can be found online and printed to scale, providing a blueprint for your armor pieces. Trace the templates onto the Eva foam and carefully cut out each piece. Remember, accuracy in cutting is key to a seamless fit and professional look.
Once you have your foam pieces, it's time to shape them. Using a heat gun, gently warm the foam to make it pliable. Be cautious not to overheat, as this can damage the foam. Shape the pieces to match the contours of your body or the character's design.
Assembly is the next critical step. Apply contact cement to both surfaces to be joined and wait for it to become tacky before pressing them together. This ensures a strong bond that will hold up during wear and tear. Use clamps or weights to keep the pieces in place while the cement dries.
After assembly, the finishing touches are what truly bring your armor to life. Sand any rough edges, fill gaps with a lightweight filler, and apply a base coat of paint. From there, you can add details, weathering, and highlights to achieve the desired aesthetic.
An Eva foam armor build is a rewarding endeavor that allows you to immerse yourself in the world of cosplay. With the right tools, materials, and a bit of practice, you can create armor that not only looks the part but also feels comfortable to wear. Whether you're a seasoned cosplayer or just starting out, the process of building your own Eva foam armor is an adventure in creativity and craftsmanship. So, gear up, get crafting, and let your armor speak volumes about your dedication to the art of cosplay.
Keywords: Eva foam armor build, cosplay, crafting, armor pieces, Eva foam, templates, assembly, finishing touches, cosplay journey, creativity, craftsmanship.
eva foam anti fatigue mats
eva foam armor template
Related Article

20 Years of Manufacturing Excellence Delivering Superior EVA Foam for Diverse Industries
Excellent Black & White EVA Materials Now in Production – Visit Our Factory for Unbeatable Quality & Value!





















