
eva foam mask tutorial
2024-04-20
DIY EVA Foam Mask Tutorial: Unleash Your Creative Side with This Simple Guide
In the age of DIY and creativity, it's no surprise that making your own masks has become a popular trend. Whether you're looking for a unique Halloween costume, a fun craft project with kids, or just want to experiment with new materials, EVA foam masks are a great choice. Today, we'll guide you through the process of creating your own EVA foam mask with our simple tutorial.
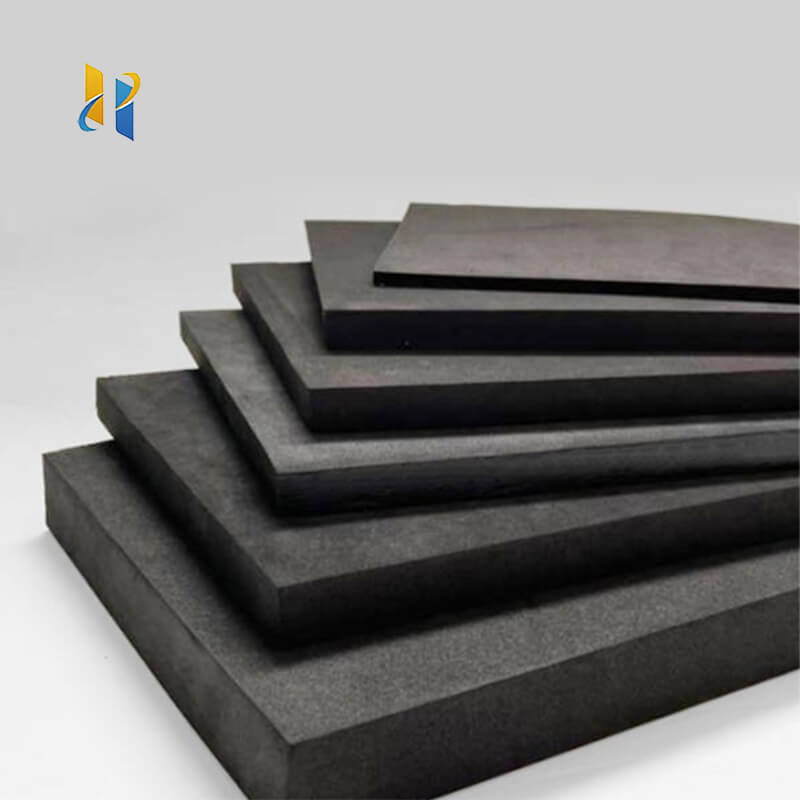
EVA foam, known for its lightweight and durable properties, is an excellent material for masks. It's easy to cut, shape, and decorate, making it perfect for both beginners and experienced crafters. Plus, the finished mask is comfortable to wear and can last for multiple uses.
To start, you'll need some basic supplies: EVA foam sheets, scissors or a craft knife, a marking pen, and any decorative materials you want to use, such as paint, stickers, or glitter. You may also want to have a ruler and a cutting mat for more precise cuts.
The first step is to draw out the design of your mask on a piece of EVA foam. You can use your imagination or find inspiration from online templates. Once you have your design ready, use the scissors or craft knife to carefully cut out the shape of your mask.
Next, it's time to decorate your mask. You can paint it in any color you like, add stickers or other embellishments, or even cut out additional pieces of EVA foam to create more intricate details. Be creative and have fun with this part!
Once your mask is decorated, it's ready to wear. You can use elastic bands or velcro to attach the mask to your face, ensuring a comfortable and secure fit.
In conclusion, making your own EVA foam mask is a fun and rewarding experience. With this simple tutorial, you can easily unleash your creative side and create a unique mask that reflects your personality. Whether you're a DIY enthusiast or just looking for a new hobby, give EVA foam mask making a try – you might just find a new passion!
eva foam mask pattern
eva foam mat manufacturers
Related Article

20 Years of Manufacturing Excellence Delivering Superior EVA Foam for Diverse Industries
Excellent Black & White EVA Materials Now in Production – Visit Our Factory for Unbeatable Quality & Value!





















