
eva foam painting tutoriala
2024-04-18
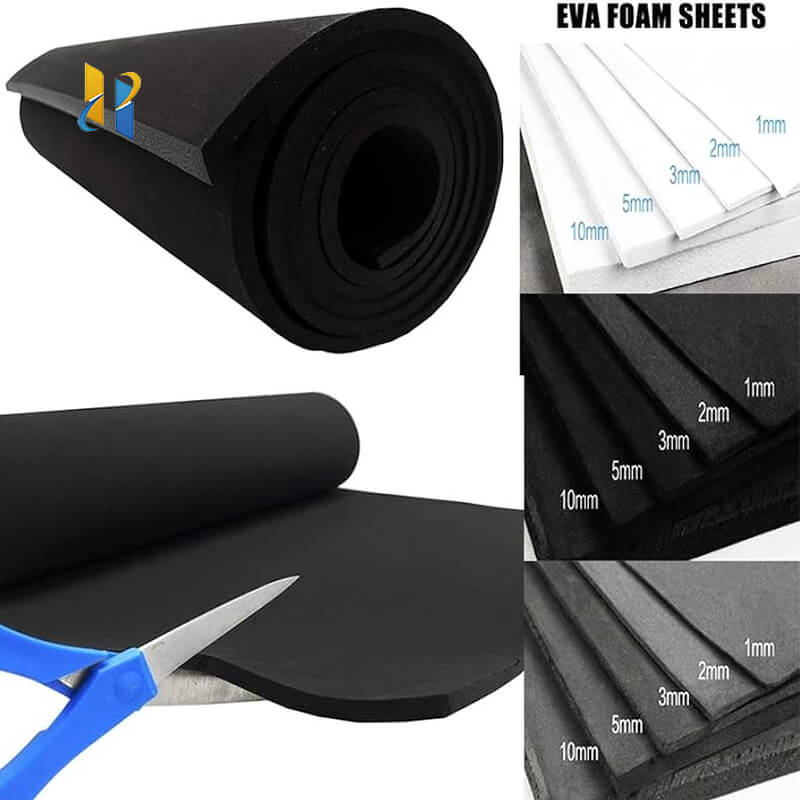
EVA Foam Painting Tutorial: Transform Your Crafts with Color and Creativity
Looking to add a vibrant and unique touch to your DIY projects? EVA foam painting is the perfect way to bring your creations to life with color and creativity. In this tutorial, we'll guide you through the steps of painting EVA foam, helping you achieve professional-looking results with ease.
EVA foam is a lightweight and durable material that's ideal for a wide range of crafting projects. Whether you're making a decorative sign, a customized toy, or a functional organizer, painting EVA foam can add a personal touch and enhance the overall look of your project.
The first step in EVA foam painting is to prepare your workspace and materials. Gather the EVA foam piece you want to paint, along with acrylic or latex paint, brushes, and any other supplies you may need. Make sure your workspace is clean and well-ventilated to ensure the best painting experience.
Next, it's important to prime your EVA foam. This helps the paint adhere better and provides a smoother finish. Apply a thin layer of primer to the entire surface of the foam, using a brush or spray bottle. Let the primer dry completely before proceeding to the next step.
Now it's time to start painting. Choose the colors that best complement your project and begin applying them to the EVA foam. You can use a brush for more precise applications or a spray bottle for a more even coat. Experiment with different techniques to create unique patterns and designs.
Once you've finished painting, allow the foam to dry thoroughly. This usually takes a few hours, depending on the thickness of your paint layers. Once dry, your EVA foam creation will be ready to show off or use in your desired project.
EVA foam painting is a fun and rewarding activity that can add a personal touch to any crafting project. With this tutorial as your guide, you'll be able to transform simple EVA foam into vibrant and creative works of art. So grab your supplies and let your imagination run wild!
eva foam on a roll
eva foam playmat squares
Related Article

20 Years of Manufacturing Excellence Delivering Superior EVA Foam for Diverse Industries
Excellent Black & White EVA Materials Now in Production – Visit Our Factory for Unbeatable Quality & Value!





















