
how to flatten eva foam
2024-04-06
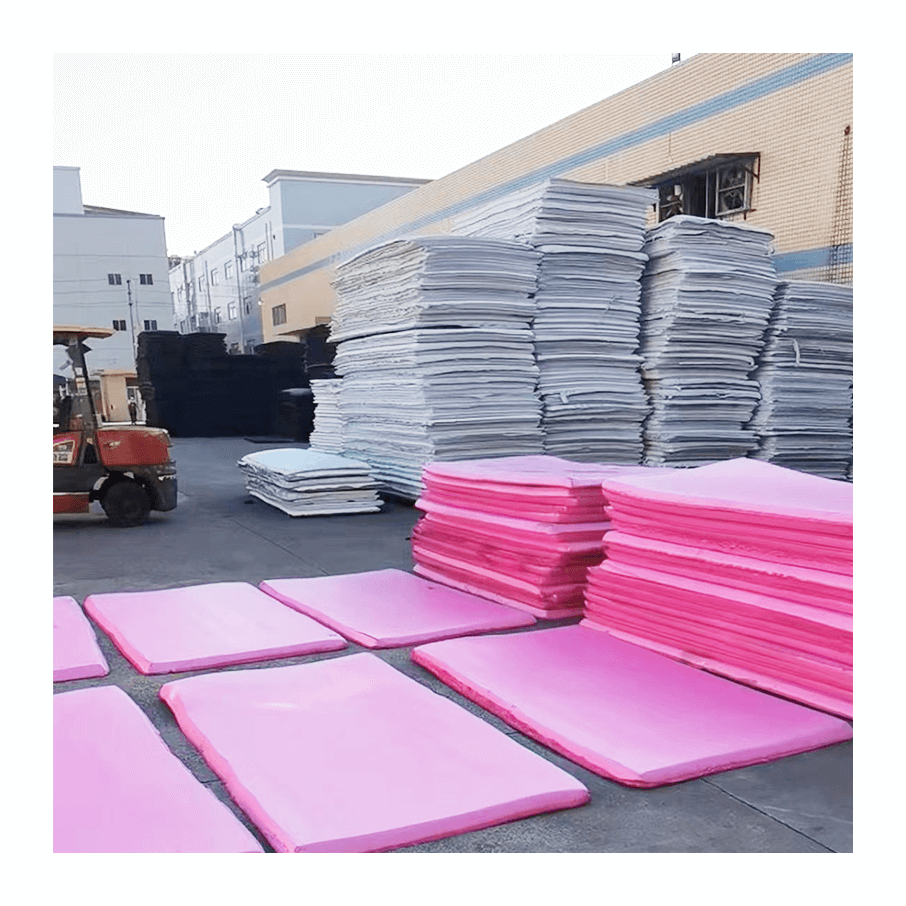
How to Flatten Eva Foam: A Step-by-Step Guide for a Smooth Finish
Eva foam is a popular material used in various DIY and crafting projects. Its lightweight, durable, and easy-to-shape properties make it a favorite choice for creators. However, one common challenge that many face when working with Eva foam is flattening it out to achieve a smooth and uniform surface. In this article, we'll provide a step-by-step guide on how to flatten Eva foam for a professional-looking finish.
The first step in flattening Eva foam is to ensure that you have the right tools and materials. You'll need a flat surface, such as a table or workbench, to place your Eva foam on. Additionally, having a rolling pin or a heavy object like a book or brick will help you flatten the material evenly.
Next, place your Eva foam on the flat surface, making sure that it's positioned correctly. If you're working with a large piece of Eva foam, it might be helpful to divide it into smaller sections to make the flattening process easier.
Now, it's time to start flattening the Eva foam. Using your rolling pin or heavy object, gently roll or press down on the material, starting from the center and working your way outwards. Apply even pressure to ensure that the Eva foam flattens out evenly. Be careful not to use too much force, as this could damage the material.
If you encounter any stubborn areas that refuse to flatten out, you can try using a heat gun or hairdryer to soften the Eva foam. Carefully apply heat to the area, and then use your rolling pin or heavy object to flatten it out. Just be sure to keep the heat at a safe distance to avoid melting or burning the material.
Once you've flattened the entire piece of Eva foam, give it a final check to ensure that it's completely smooth and uniform. If you notice any areas that are still not flat, repeat the flattening process until you achieve the desired result.
Remember, patience is key when flattening Eva foam. Don't rush the process, and take your time to ensure that your Eva foam piece is flattened out to perfection.
In conclusion, flattening Eva foam may seem like a daunting task, but with the right tools and techniques, it can be a relatively simple process. By following the steps outlined in this guide, you'll be able to achieve a smooth and uniform finish on your Eva foam projects, taking your creations to the next level. So, why wait? Get started on flattening your Eva foam today and bring your DIY ideas to life!
harbor freight eva foam
how to work with eva foam
Related Article

20 Years of Manufacturing Excellence Delivering Superior EVA Foam for Diverse Industries
Excellent Black & White EVA Materials Now in Production – Visit Our Factory for Unbeatable Quality & Value!





















