
how to heat shape eva foam
2024-04-05
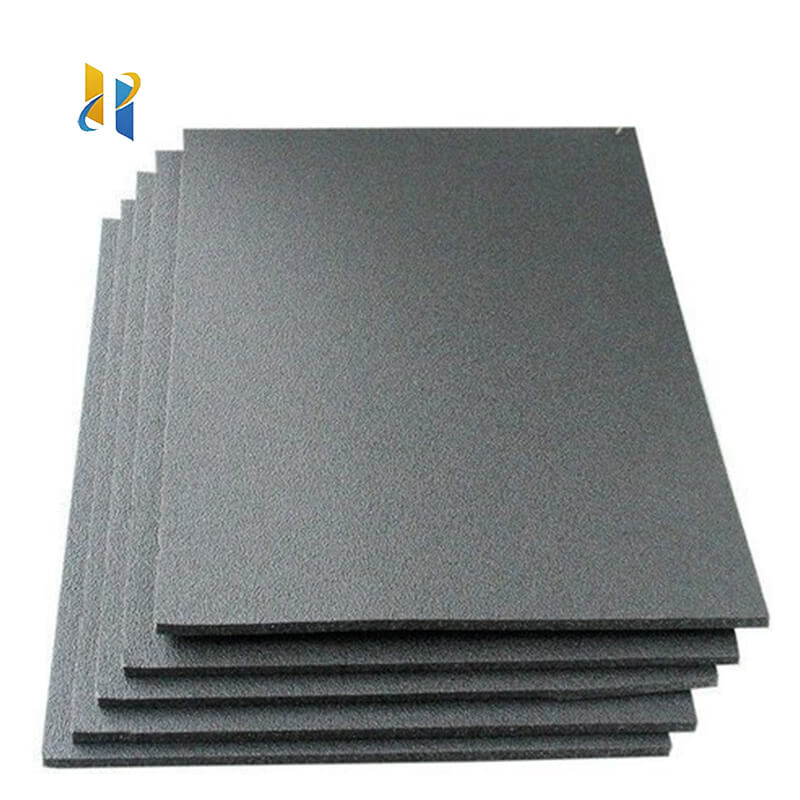
How to Heat and Shape Eva Foam: A Guide to Creating Customizable Forms and Structures
Eva foam, a lightweight and versatile material, has become a popular choice for crafters and DIY enthusiasts. Its unique properties allow it to be easily shaped and molded into various forms, making it a perfect material for creating costumes, props, and other creative projects. Heating Eva foam is a crucial step in the shaping process, as it softens the material and makes it more pliable. In this article, we'll guide you through the process of how to heat and shape Eva foam, enabling you to create customizable forms and structures with ease.
Step 1: Gather Your Materials
Before you begin, make sure you have the necessary materials. Eva foam sheets in the desired thickness and color are the main component. Additionally, you'll need a heat source such as a hairdryer or heat gun, as well as gloves to protect your hands from the heat. A shaping tool or a rolling pin can also be helpful in achieving the desired shape.
Step 2: Prepare the Eva Foam
Cut the Eva foam sheet into the desired shape and size using scissors or a sharp knife. Ensure that the edges are smooth and clean for a professional-looking finish.
Step 3: Heat the Eva Foam
Now it's time to heat the Eva foam. Using your heat source, such as a hairdryer or heat gun, evenly distribute the heat across the surface of the Eva foam. Be careful not to overheat it, as this can cause it to melt or deform. A good rule of thumb is to keep the heat source moving and maintain a safe distance from the Eva foam.
Step 4: Shape the Eva Foam
Once the Eva foam is heated and softened, it's ready to be shaped. Use your shaping tool or rolling pin to gently press and mold the Eva foam into the desired shape. You can also use your hands, but make sure to wear gloves to protect your skin from the heat.
Step 5: Cool and Set the Shape
After shaping the Eva foam, allow it to cool and set. This will ensure that the shape is retained and the material becomes rigid again. You can use a cooling fan or simply let it cool down naturally.
Step 6: Trim and Finish
Once the Eva foam has cooled and set, you can trim any excess material and refine the edges for a clean finish. You can also add paint or other finishes to enhance the look of your creation.
In conclusion, heating and shaping Eva foam is a straightforward process that allows you to create customizable forms and structures with ease. With the right materials and techniques, you can transform Eva foam into various shapes and sizes, perfect for costumes, props, and other DIY projects. So, grab your Eva foam and heat source, and let your creativity run wild!
yellow eva foam
how to make a mask with eva foam
Related Article

20 Years of Manufacturing Excellence Delivering Superior EVA Foam for Diverse Industries
Excellent Black & White EVA Materials Now in Production – Visit Our Factory for Unbeatable Quality & Value!





















