
how to make eva foam armor
2024-05-25
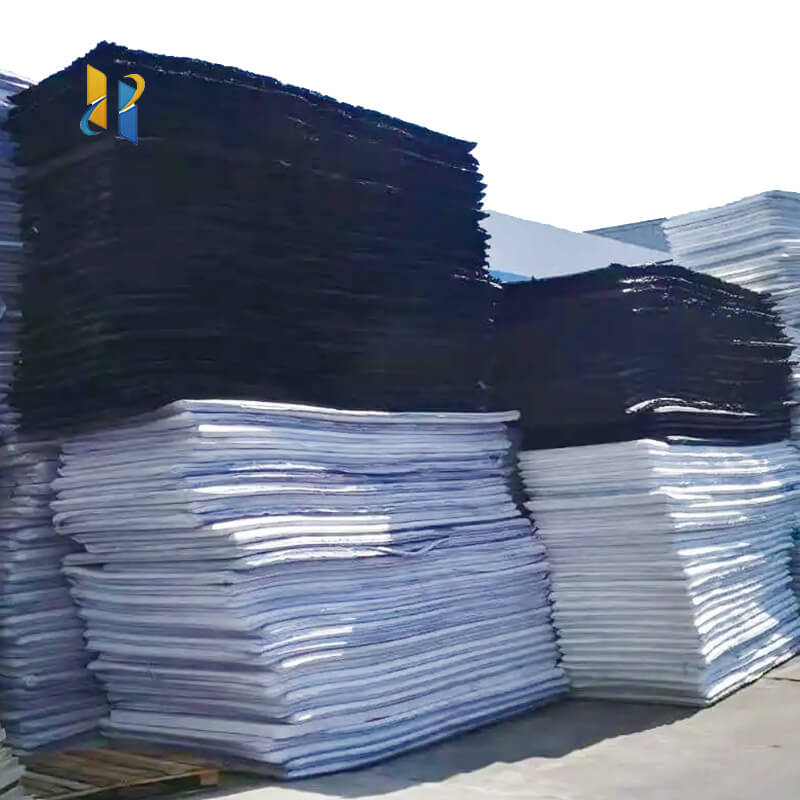
Title: How to Make EVA Foam Armor for Cosplay: A Step-by-Step Guide
EVA (Ethylene-Vinyl Acetate) foam is a popular material for crafting cosplay armor due to its lightweight, durability, and ease of shaping. Whether you're a seasoned cosplayer or a beginner, creating EVA foam armor can be a rewarding and creative process. This guide will provide you with a comprehensive approach to making EVA foam armor, ensuring your costume is both functional and visually stunning.
1. **Planning Your Armor Design**:
Before you start cutting foam, sketch out your armor design or use a reference image. Determine the pieces you need and their placement on the body. Consider the ergonomics and movement required for each piece to ensure comfort during wear.
2. **Choosing the Right EVA Foam**:
Select the appropriate type and thickness of EVA foam based on the complexity and support needed for your armor. Thicker foam (5mm to 10mm) is ideal for larger, structural pieces, while thinner foam (2mm to 4mm) can be used for details and layering.
Select the appropriate type and thickness of EVA foam based on the complexity and support needed for your armor. Thicker foam (5mm to 10mm) is ideal for larger, structural pieces, while thinner foam (2mm to 4mm) can be used for details and layering.
3. **Creating Templates and Cutting Foam**:
Create templates for each armor piece using cardboard or paper. Trace these templates onto the EVA foam and carefully cut out the shapes using a sharp hobby knife. For precision, use a straight edge or a cutting mat.
Create templates for each armor piece using cardboard or paper. Trace these templates onto the EVA foam and carefully cut out the shapes using a sharp hobby knife. For precision, use a straight edge or a cutting mat.
4. **Shaping and Molding**:
Use a heat gun or an iron to soften the foam, allowing you to mold it into the desired shape. For complex curves and contours, consider using molds or formers. Always work in a well-ventilated area and be cautious not to overheat the foam.
Use a heat gun or an iron to soften the foam, allowing you to mold it into the desired shape. For complex curves and contours, consider using molds or formers. Always work in a well-ventilated area and be cautious not to overheat the foam.
5. **Assembling the Armor**:
Use contact cement or hot glue to bond the foam pieces together. For added strength, reinforce the seams with additional layers of foam or by using fiberglass mesh and resin. Ensure all joints are secure and smooth out any excess glue.
Use contact cement or hot glue to bond the foam pieces together. For added strength, reinforce the seams with additional layers of foam or by using fiberglass mesh and resin. Ensure all joints are secure and smooth out any excess glue.
6. **Smoothing and Sealing**:
Sand the foam surfaces to remove any imperfections and create a smooth finish. Apply a sealant to protect the foam and provide a non-porous surface for painting. Allow the sealant to dry thoroughly.
Sand the foam surfaces to remove any imperfections and create a smooth finish. Apply a sealant to protect the foam and provide a non-porous surface for painting. Allow the sealant to dry thoroughly.
7. **Painting and Detailing**:
Once the sealant is dry, paint your armor using acrylic paints or spray paint. For a professional look, consider using a sealant to protect the paint job. Add details such as weathering, decals, or other textures to enhance the realism of your armor.
Once the sealant is dry, paint your armor using acrylic paints or spray paint. For a professional look, consider using a sealant to protect the paint job. Add details such as weathering, decals, or other textures to enhance the realism of your armor.
Making EVA foam armor is a process that requires careful planning, precision, and creativity. By following these steps and using the right materials, you can craft armor that not only looks great but also fits well and is comfortable to wear. Remember to work in a safe environment, take your time with each step, and enjoy the satisfaction of creating your own cosplay armor.
how to make armor from eva foam
how to make eva foam stiff
Related Article

20 Years of Manufacturing Excellence Delivering Superior EVA Foam for Diverse Industries
Excellent Black & White EVA Materials Now in Production – Visit Our Factory for Unbeatable Quality & Value!





















