
how to make cosplay armor out of eva foam
2024-04-05
How to Make Cosplay Armor Out of Eva Foam: A Tutorial for Creative Costumers
If you're a fan of cosplay and love creating unique costumes, learning how to make armor out of Eva foam is a must. Eva foam is a lightweight and easy-to-work-with material that can be shaped and molded into intricate designs, making it ideal for creating realistic-looking armor for your favorite characters. Whether you're dressing up as a warrior, a knight, or a sci-fi hero, this tutorial will guide you through the process of making Eva foam armor that will turn heads at your next cosplay event.
Step 1: Gather Your Materials
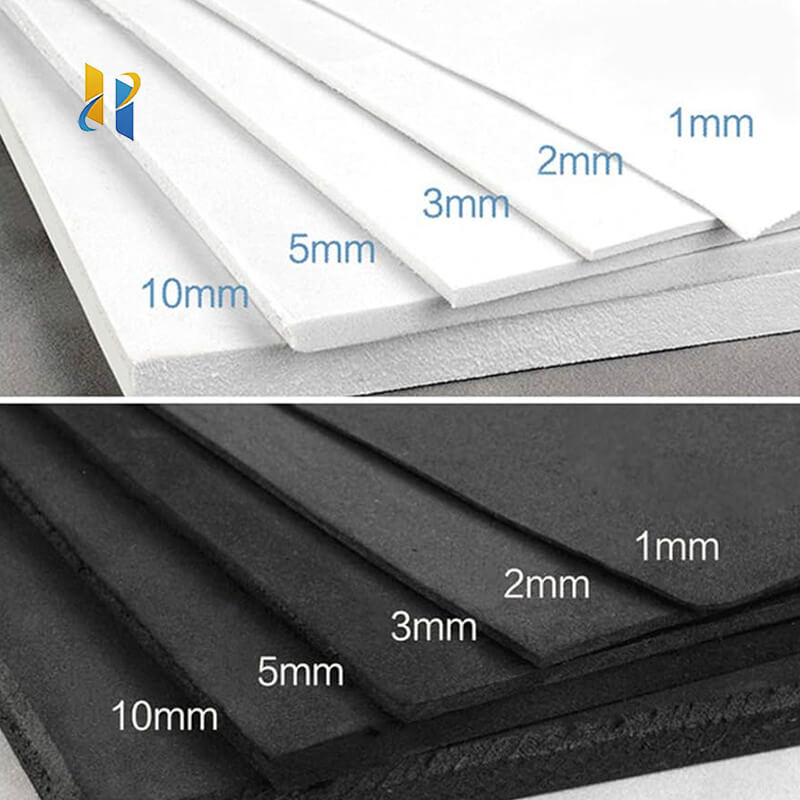
To start, you'll need Eva foam sheets in various thicknesses and colors, depending on the design of your armor. Other essential supplies include scissors or a cutting mat and knife, markers for tracing, a ruler or template for precision measurements, and hot glue or contact cement for attaching pieces together. You may also want to have some acrylic paint on hand for adding color and details.
Step 2: Design Your Armor
Before cutting into your Eva foam, it's crucial to have a clear vision of your desired armor design. Research the character you're dressing up as and study their armor's features, contours, and proportions. Sketch out your ideas on paper, paying attention to the placement of each piece and how they will fit together.
Step 3: Cut and Shape the Eva Foam
Using your scissors or cutting mat and knife, carefully cut out the pieces of Eva foam according to your design. Eva foam is easy to shape, so you can mold it into the desired contours and curves for your armor. Use a ruler or template to ensure precision and accuracy.
Step 4: Assemble the Armor Structure
Once you have all the pieces cut out, it's time to assemble them into the basic structure of your armor. Use hot glue or contact cement to secure the various sections together, paying attention to alignment and fit. Experiment with different attachment methods to find the most secure and comfortable way to wear your armor.
Step 5: Add Details and Decorations
Now it's time to bring your armor to life with added details and decorations. Use acrylic paint to add color and patterns, or experiment with other materials like fabric, lace, or beads for extra texture and interest. Remember to let your creativity run wild and create a unique and eye-catching design that matches your character's personality and aesthetic.
Step 6: Try on and Adjust Your Eva Foam Armor
Finally, put on your DIY Eva foam armor and admire your handiwork! Walk around to test its comfort, stability, and range of motion. Make any necessary adjustments to ensure a perfect fit and comfortable wear. With your new Eva foam armor, you're ready to take on any cosplay event with confidence and style.
In conclusion, making Eva foam armor for cosplay is a fun and rewarding DIY project that allows you to express your creativity and love for characters. With the right materials and a bit of patience, you can create a realistic-looking armor that will turn heads and make you stand out from the crowd. So, why wait? Get started on your Eva foam armor project and let your cosplay dreams come true!
how to make a mask with eva foam
how to make eva foam boots
Related Article

20 Years of Manufacturing Excellence Delivering Superior EVA Foam for Diverse Industries
Excellent Black & White EVA Materials Now in Production – Visit Our Factory for Unbeatable Quality & Value!





















