
how to make eva foam boots
2024-04-05
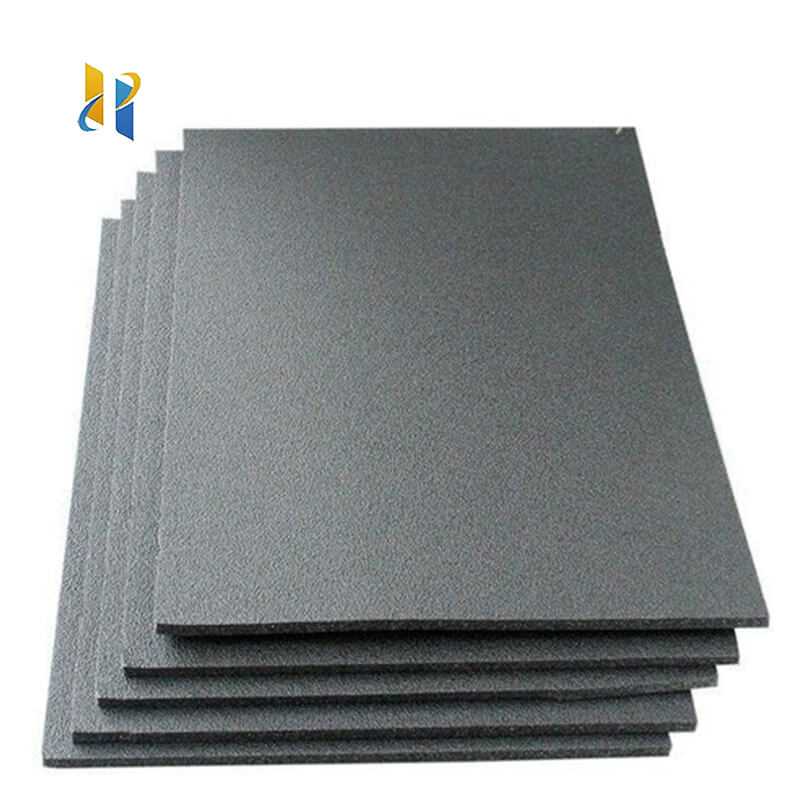
How to Make Eva Foam Boots: A Step-by-Step Guide for DIY Fashionistas
Looking to add a unique and personalized touch to your footwear? Look no further than DIY Eva foam boots! This lightweight and malleable material allows you to create boots that are not only stylish but also comfortable. Whether you're aiming for a futuristic look, a fantasy-inspired design, or simply want to experiment with a new crafting material, this guide will teach you how to make Eva foam boots from scratch.
Step 1: Gather Your Supplies
The first step is to assemble all the necessary supplies. Start by purchasing Eva foam sheets in the desired thickness and color. You'll also need scissors or a sharp knife for cutting, markers for tracing your design, and a ruler or template for precision measurements. Additionally, consider having some hot glue or contact cement on hand for attaching the various pieces together.
Step 2: Design Your Boots
Before cutting into your Eva foam sheets, it's essential to have a clear vision of your desired boot design. Sketch out your ideas on paper, taking into account the shape, size, and features you want your boots to have. Consider factors like comfort, fit, and the overall aesthetic you're aiming for.
Step 3: Cut and Shape the Eva Foam
Using your scissors or knife, carefully cut out the pieces of Eva foam according to your design. Work slowly and precisely to ensure clean and accurate cuts. Eva foam is relatively easy to shape, so you can easily mold it into the desired contours and curves for your boots.
Step 4: Assemble the Boot Structure
Once you have all the pieces cut out, it's time to assemble them into the boot's basic structure. Use hot glue or contact cement to secure the various sections together, paying attention to the alignment and fit. Make sure to leave room for adjustments as needed to ensure a comfortable fit.
Step 5: Add Details and Decorations
Now it's time to bring your boots to life with added details and decorations. You can use acrylic paints to add color and patterns, or experiment with other materials like fabric, lace, or beads for extra texture and interest. Let your creativity run wild and create a unique and eye-catching design that reflects your personal style.
Step 6: Try on and Adjust Your Eva Foam Boots
Finally, put on your DIY Eva foam boots and admire your handiwork! Walk around to test their comfort and stability, making any necessary adjustments to ensure a perfect fit. With your new pair of Eva foam boots, you're ready to take on any fashion challenge or themed event with confidence and style.
In conclusion, making Eva foam boots is a fun and rewarding DIY project that allows you to express your creativity and fashion sense. With the right materials and a bit of patience, you can create a pair of boots that are not only stylish but also comfortable and personalized. So, why wait? Get started on your Eva foam boot project and let your fashion dreams come true!
how to make cosplay armor out of eva foam
how to make eva foam mask
Related Article

20 Years of Manufacturing Excellence Delivering Superior EVA Foam for Diverse Industries
Excellent Black & White EVA Materials Now in Production – Visit Our Factory for Unbeatable Quality & Value!





















