
how to make eva foam mask
2024-04-05
How to Make an Eva Foam Mask: A Creative Guide for DIY Mask-Making Enthusiasts
Unleash your creativity and craft an eye-catching Eva foam mask with this simple yet comprehensive guide! Eva foam is a lightweight and versatile material that's perfect for shaping into masks of all kinds. Whether you're looking to create a unique Halloween costume, a themed mask for a party, or simply a fun DIY project, this tutorial will show you how to transform sheets of Eva foam into a stunning mask.
Step 1: Gather Your Materials
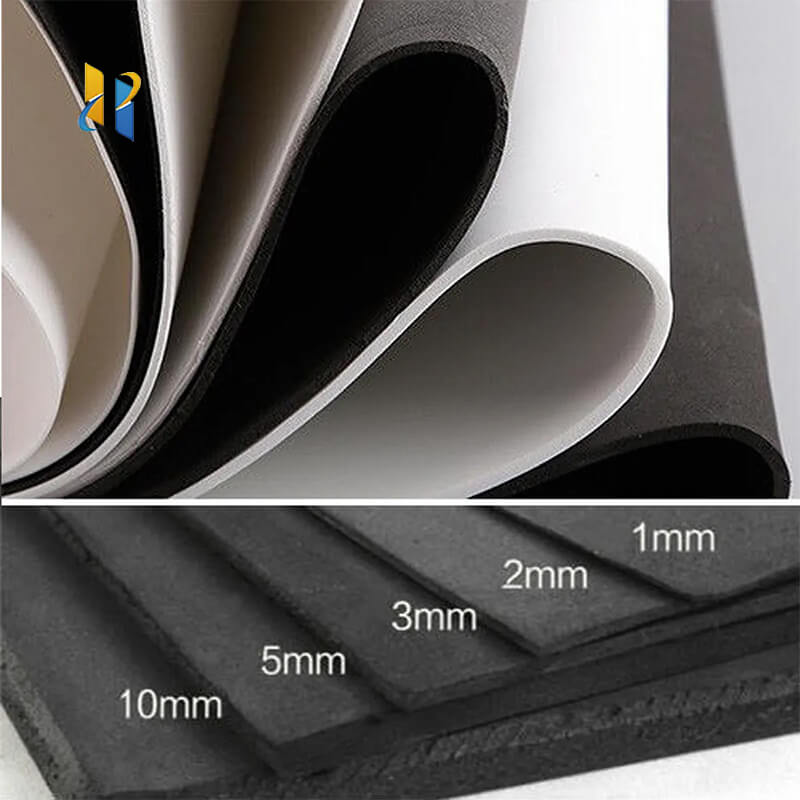
To start your Eva foam mask-making journey, you'll need a few essential materials. Gather Eva foam sheets in the desired thickness and color, along with scissors or a sharp knife for cutting. A ruler or template will help you achieve precise measurements, and hot glue or contact cement will be used to bond the pieces together. Don't forget to grab some spray paint and acrylic paints to add color and detail to your mask.
Step 2: Design Your Mask
Before diving into the cutting and shaping process, it's important to plan out your mask's design. Sketch out a basic template or find inspiration from existing mask designs. Consider the shape, size, and features you want your mask to have, and make sure to take into account your face's contours for a comfortable fit.
Step 3: Cut and Shape the Eva Foam
Using your scissors or knife, carefully cut out the pieces of Eva foam according to your design. Work slowly and follow the lines carefully to achieve clean and precise cuts. Once the pieces are cut, you can start shaping them into the desired forms. Eva foam is malleable and easy to work with, allowing you to create intricate details and curves.
Step 4: Assemble the Mask
Now it's time to put the pieces together. Using hot glue or contact cement, attach the different sections of the mask, ensuring a secure bond. Work slowly and carefully to avoid any gaps or misalignments. You can use clamps or tape to hold the pieces in place while the adhesive dries.
Step 5: Paint and Decorate Your Mask
Once the mask is assembled, it's time to add some color and detail. Use spray paint to cover the larger areas, and then employ acrylic paints to add intricate designs, patterns, or symbols. Experiment with different textures and finishes to give your mask a unique and personalized look.
Step 6: Try on and Adjust Your Eva Foam Mask
Finally, put on your newly crafted Eva foam mask and admire your handiwork! Move your face around to ensure a comfortable fit and adjust any loose or tight areas as needed. With your new mask, you're ready to take on any costumed adventure or themed party!
In conclusion, making an Eva foam mask is a fun and rewarding DIY project that allows you to express your creativity and create a unique accessory. With the right materials and a bit of patience, you can craft a mask that will not only look great but also fit comfortably. So, why wait? Get started on your Eva foam mask project and let your imagination run wild!
how to make eva foam boots
how to make gauntlets out of eva foam
Related Article

20 Years of Manufacturing Excellence Delivering Superior EVA Foam for Diverse Industries
Excellent Black & White EVA Materials Now in Production – Visit Our Factory for Unbeatable Quality & Value!





















