
how to make halo armor out of eva foam
2024-04-05
How to Make Halo Armor Out of Eva Foam: A Tutorial for Cosplay Fans
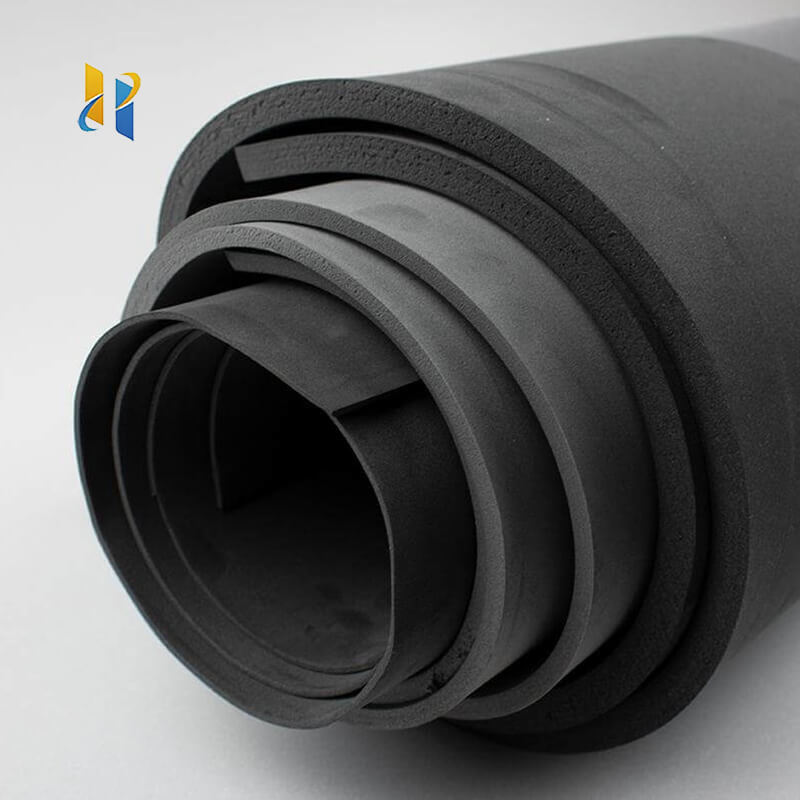
If you're a fan of the Halo franchise and dream of dressing up as your favorite Spartan, making your own Halo armor out of Eva foam is the perfect project for you. Eva foam is a lightweight and easy-to-work-with material that can be shaped and painted to create realistic-looking armor. In this article, we'll guide you through the process of making Halo armor from Eva foam, from planning and preparation to the final assembly.
Step 1: Gather Your Materials
To start, you'll need a supply of Eva foam sheets in various thicknesses and colors. You'll also need scissors or a sharp knife for cutting, a ruler or template for accurate measurements, and adhesives like hot glue or contact cement to attach the pieces together. Additionally, you'll want to have some spray paint and acrylic paints on hand to give your armor the desired color and finish.
Step 2: Design and Measure Your Armor
Before cutting any Eva foam, it's important to plan out your design. You can find templates online or create your own based on reference images from the game. Measure your body to ensure the armor will fit snugly, and make any necessary adjustments to the design.
Step 3: Cut and Shape the Eva Foam
Using your scissors or knife, carefully cut out the pieces of Eva foam according to your design. You can use a ruler or template to ensure straight lines and accurate measurements. Once the pieces are cut, you can start shaping them into the desired forms using your hands or shaping tools. Eva foam is easy to bend and mold, so you can create curves and angles to match the contours of your body.
Step 4: Attach the Pieces Together
Using hot glue or contact cement, attach the pieces of armor together. Be sure to work slowly and carefully to ensure a strong and secure bond. You can use clamps or tape to hold the pieces in place while the adhesive dries.
Step 5: Paint and Detail Your Armor
Once the basic structure of your armor is complete, it's time to add color and detail. Use spray paint to cover the larger areas of your armor, and then use acrylic paints to add finer details and shading. You can also use markers or pencils to add lines and patterns for a more realistic look.
Step 6: Try on and Adjust Your Halo Armor
Finally, it's time to try on your new Halo armor and make any necessary adjustments. Put on the armor and move around to ensure it fits comfortably and doesn't restrict your movement. Make any trims or adjustments as needed to perfect the fit.
In conclusion, making Halo armor out of Eva foam is a fun and rewarding project that allows you to create a unique and realistic-looking cosplay outfit. With the right materials and a bit of patience, you can transform yourself into your favorite Halo Spartan and join the ranks of cosplay enthusiasts. So, why not give it a try and see what amazing creations you can come up with?
how to make gauntlets out of eva foam
how to make shoe armor with eva foam
Related Article

20 Years of Manufacturing Excellence Delivering Superior EVA Foam for Diverse Industries
Excellent Black & White EVA Materials Now in Production – Visit Our Factory for Unbeatable Quality & Value!





















