
how to make shoe armor with eva foam
2024-04-05
How to Make Shoe Armor with Eva Foam: A Step-by-Step Guide for DIY Costume Enthusiasts
For those who love creating unique and eye-catching costumes, shoe armor is an excellent way to add a touch of fantasy and drama. Made from Eva foam, shoe armor is lightweight, durable, and easy to customize. In this article, we'll guide you through the process of making shoe armor with Eva foam, from planning and preparation to finishing and wearing your new creation.
Step 1: Gather Your Materials
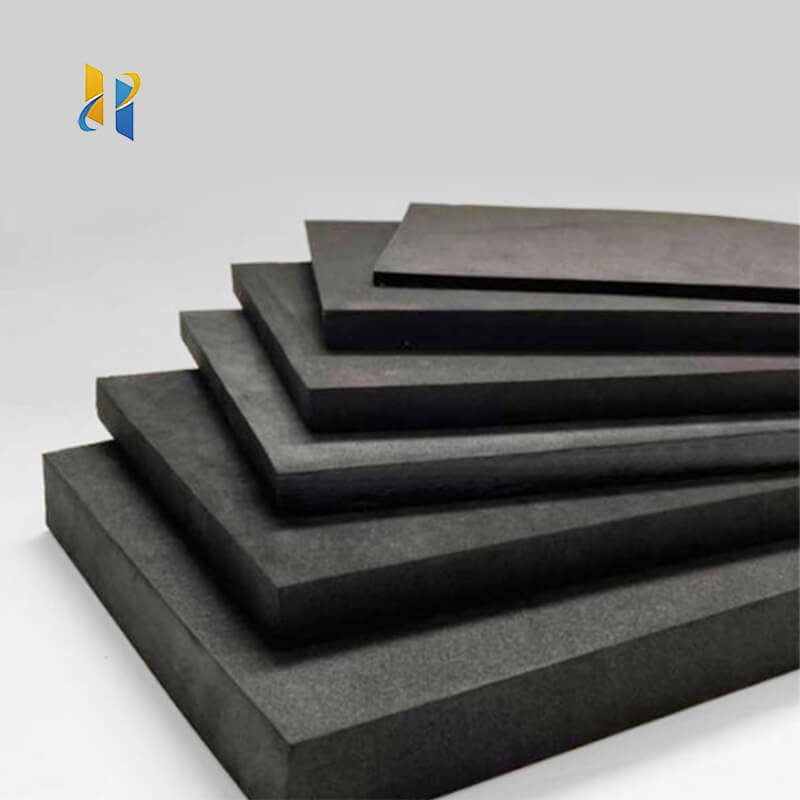
To start, you'll need a sheet of Eva foam in the desired thickness and color. Additionally, you'll need scissors or a sharp knife for cutting, a ruler or template for accurate measurements, and some form of adhesive, such as hot glue or contact cement. It's also helpful to have a pencil or marker for marking out your design on the Eva foam.
Step 2: Measure and Cut the Eva Foam
Begin by measuring your shoes to determine the size and shape of the armor you'll need. Use a ruler or template to mark out the pieces on the Eva foam, and then carefully cut them out using scissors or a knife. Remember to leave some extra material for overlap and attachment later on.
Step 3: Shape and Mold the Eva Foam
Once you have your pieces cut out, you can start shaping and molding them into the desired form. Eva foam is easy to work with and can be gently pressed and bent into shape. Use your hands or a shaping tool to create curves, ridges, and other details in the armor.
Step 4: Attach the Pieces Together
Now it's time to start attaching the pieces of armor together. Use your chosen adhesive to secure the pieces in place. Hot glue is a good option for quick and secure attachments, while contact cement can provide a stronger, more permanent bond. Be sure to follow the adhesive's instructions for proper application.
Step 5: Add Details and Embellishments
Once the basic structure of the shoe armor is in place, you can add details and embellishments to make it truly unique. This might involve painting the Eva foam, adding stripes or patterns, or gluing on extra pieces for added texture and interest. Let your imagination run wild and create something truly special.
Step 6: Try on and Adjust the Shoe Armor
Finally, it's time to try on your new shoe armor and make any necessary adjustments. Put your shoes on and carefully slip the armor over them, ensuring that it fits snugly and comfortably. Make any necessary trims or adjustments to ensure a perfect fit.
In conclusion, making shoe armor with Eva foam is a fun and rewarding DIY project that can add a touch of magic to any costume. With the right materials and a bit of creativity, you can create unique and eye-catching shoe armor that will make you stand out from the crowd. So, why not give it a try and see what amazing creations you can come up with?
how to make halo armor out of eva foam
how to mold eva foam without a heat gun
Related Article

20 Years of Manufacturing Excellence Delivering Superior EVA Foam for Diverse Industries
Excellent Black & White EVA Materials Now in Production – Visit Our Factory for Unbeatable Quality & Value!





















