
how to mold eva foam without a heat gun
2024-04-05
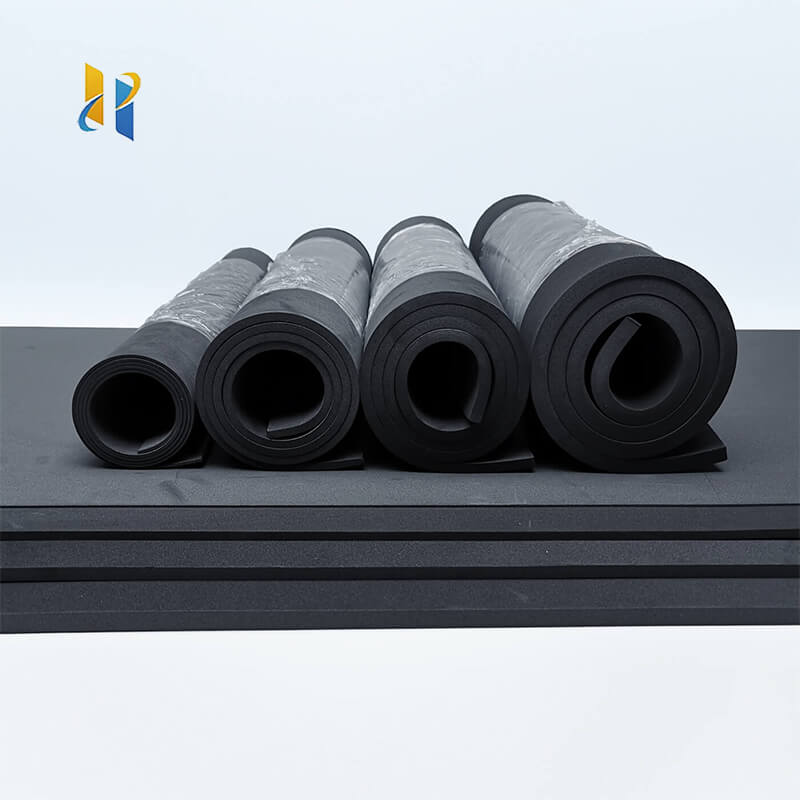
How to Mold Eva Foam Without a Heat Gun: A Creative and Practical Guide
Eva foam is a versatile material that can be molded into various shapes and designs, making it a popular choice for craft projects, costumes, and even DIY home improvements. However, many people assume that a heat gun is a necessary tool for molding Eva foam, which isn't always the case. In this article, we'll explore how to mold Eva foam without a heat gun, allowing you to create beautiful and unique pieces without breaking the bank.
Step 1: Gather Your Materials
To mold Eva foam without a heat gun, you'll need a few essential materials. Start by purchasing a sheet of Eva foam in the desired thickness. Additionally, you'll need a sharp knife or scissors for cutting, a ruler or template for accurate measurements, and some form of shaping tool, such as a rolling pin or a ball of aluminum foil.
Step 2: Prepare the Eva Foam
Begin by cutting the Eva foam into the desired shape or size using your knife or scissors. If you're working with a complex design, it may be helpful to use a ruler or template to ensure accuracy. Once you have your basic shape, use your shaping tool to gently press and mold the Eva foam into the desired contours. Remember to be patient and gentle, as Eva foam can be delicate.
Step 3: Use Steam to Shape the Eva Foam
Without a heat gun, you can still use steam to soften and shape the Eva foam. Fill a pot with water and bring it to a boil. Once the water is steaming, hold a piece of Eva foam over the pot, allowing the steam to gently penetrate the material. Be careful not to get too close to the boiling water, as the steam can be hot. As the Eva foam softens, use your shaping tool to gently mold it into the desired shape.
Step 4: Allow the Eva Foam to Cool and Set
Once you've achieved the desired shape, set the Eva foam aside to cool and set. This process may take a few minutes to an hour, depending on the thickness of the material and the complexity of the shape. Be patient and allow the Eva foam to cool completely before handling or using it.
Step 5: Finish and Customize Your Creation
After the Eva foam has cooled and set, you can finish and customize your creation as desired. This might involve painting, gluing additional pieces together, or adding embellishments like sequins or fabric. Let your imagination run wild and create something truly unique and personal.
In conclusion, molding Eva foam without a heat gun is not only possible but can also be a fun and creative experience. By using simple tools and techniques, you can shape Eva foam into a variety of designs, making it a versatile material for a wide range of projects. So, don't let the absence of a heat gun stop you from exploring the endless possibilities of Eva foam molding.
how to make shoe armor with eva foam
how to remove eva foam decking
Related Article

20 Years of Manufacturing Excellence Delivering Superior EVA Foam for Diverse Industries
Excellent Black & White EVA Materials Now in Production – Visit Our Factory for Unbeatable Quality & Value!





















