
how to paint eva foam
2024-03-29
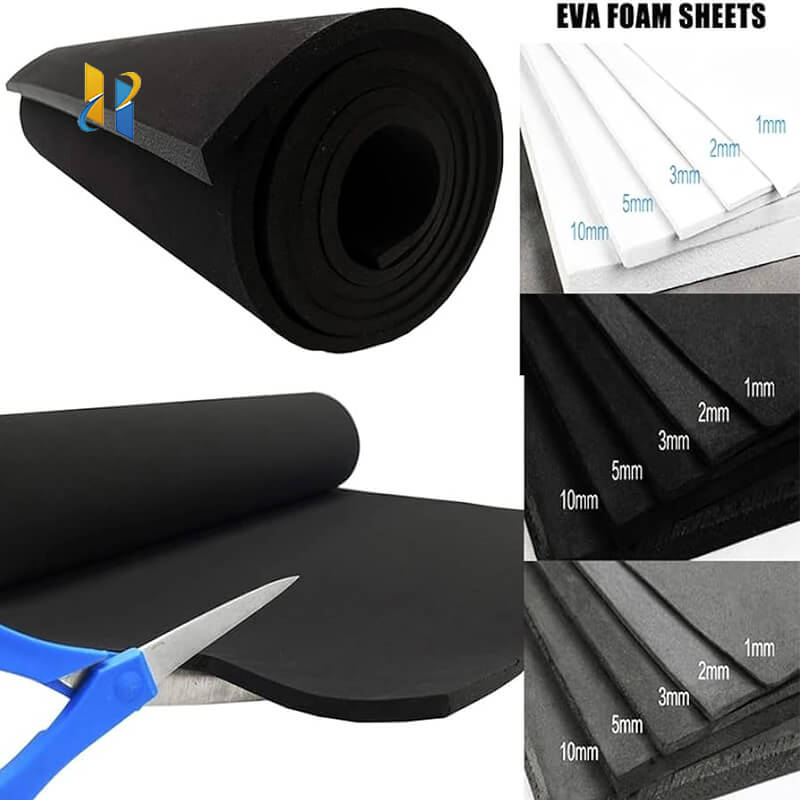
How to Paint EVA Foam: A Step-by-Step Guide for a Vibrant Finish
EVA foam is a lightweight and durable material often used in crafts, costumes, and DIY projects. Painting EVA foam can add a personal touch and bring your creations to life. Whether you're creating a unique prop for a cosplay or decorating your home with handmade accents, learning how to paint EVA foam effectively is a valuable skill. In this article, we'll guide you through the process of painting EVA foam, from preparation to finish, ensuring a smooth and vibrant result.
Step 1: Gather Your Materials
Before you begin, make sure you have all the necessary supplies. You'll need:
-
EVA foam sheets in the desired thickness and size
-
Acrylic paint in your chosen colors
-
Primer (optional, but recommended for better paint adhesion)
-
Spray paint (optional, for larger areas or a more uniform finish)
-
Paintbrushes of various sizes
-
Masking tape or painter's tape
-
Disposable gloves (to protect your hands from paint)
-
Work surface covered with newspaper or plastic sheeting (to protect your workspace)
Step 2: Prepare the EVA Foam
Begin by cleaning the EVA foam to remove any dust or dirt that could interfere with the paint's adhesion. Use a soft cloth to gently wipe down the surface. If you plan to use primer, apply it evenly over the entire foam sheet, following the manufacturer's instructions. Primer helps create a smooth base for the paint and can enhance the overall finish.
Step 3: Tape Off Areas (If Needed)
If you want to create crisp lines or protect certain areas from being painted, use masking tape or painter's tape to tape off those sections. This step is especially useful when working with intricate designs or patterns.
Step 4: Apply the Paint
Now it's time to start painting! Acrylic paint is a good choice for EVA foam as it dries quickly and provides a vibrant color. Use a paintbrush to apply the paint in even strokes, working in small sections at a time. For larger areas, you may prefer to use spray paint for a more uniform coverage. Remember to apply multiple coats if necessary to achieve the desired opacity.
Step 5: Allow the Paint to Dry
Be patient and allow the paint to dry completely between coats. This ensures that each layer adheres properly and prevents the paint from smudging or peeling off. Follow the drying time recommended on the paint's label.
Step 6: Add Details and Finishing Touches
Once the base coat is dry, you can add details or finishing touches. This could include painting accents, outlines, or patterns using different colors or techniques. Experiment with different brushes and techniques to create unique effects.
Step 7: Let Your Creativity Shine
With the painting process complete, you can now admire your handiwork! EVA foam is a versatile material that can be transformed into countless creations with a little imagination and some paint. Whether you're making props for a special event or decorating your home, painting EVA foam is a great way to personalize and enhance your projects.
In conclusion, painting EVA foam is a fun and rewarding process that can add a personal touch to your DIY projects. By following these simple steps and allowing your creativity to shine, you can create vibrant and unique pieces that will bring joy to yourself and others. So grab your supplies, let's get painting!
eva decking foam
best adhesive for eva foam
Related Article

20 Years of Manufacturing Excellence Delivering Superior EVA Foam for Diverse Industries
Excellent Black & White EVA Materials Now in Production – Visit Our Factory for Unbeatable Quality & Value!





















