
how to sand eva foam smooth
2024-04-05
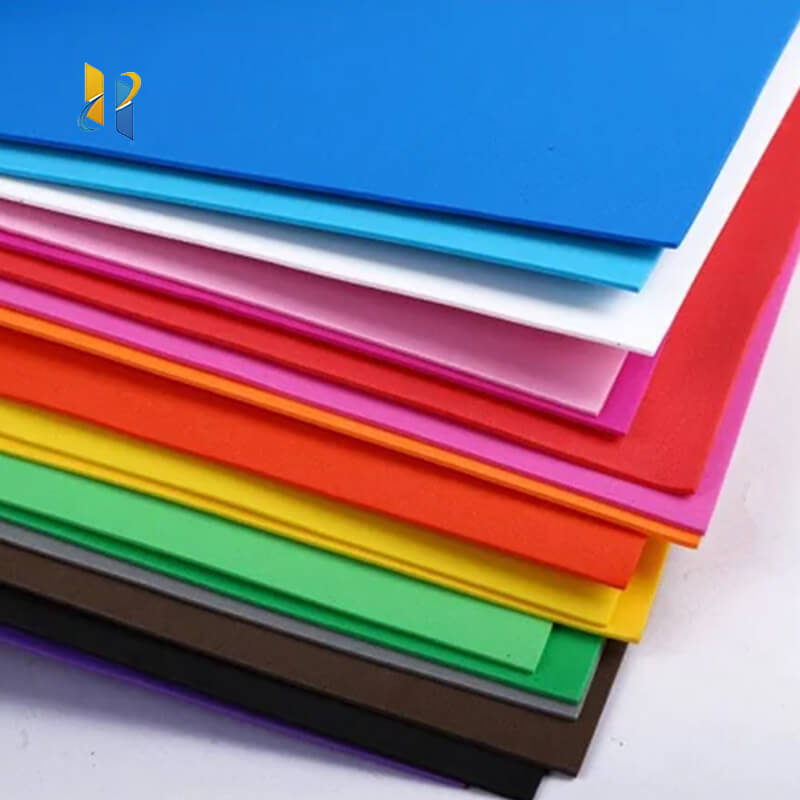
How to Sand Eva Foam Smooth for a Professional Finish
Eva foam, known for its lightweight yet durable nature, is a popular material for a wide range of DIY projects, from costumes and props to model building. However, achieving a smooth finish on Eva foam can be challenging. Sanding is a crucial step in the process, and doing it correctly can transform your project from amateur to professional. Here's a step-by-step guide to sanding Eva foam smoothly.
Step 1: Gather Your Tools
Before you begin, make sure you have the right tools for the job. You'll need a sanding block or a handheld electric sander, along with sandpaper of varying grits. Start with a lower grit, such as 80 or 100, and gradually move up to a higher grit for a smoother finish.
Step 2: Prepare the Eva Foam
Examine your Eva foam piece and identify any rough areas or imperfections. Mark them with a pencil or tape for easier reference during the sanding process. Ensure the Eva foam is clean and free of any dirt or debris that could scratch the surface during sanding.
Step 3: Start Sanding
Using your sanding block or electric sander, gently start sanding the Eva foam. Apply even pressure and move the sander or block in a circular motion. Focus on the marked areas first and gradually move to the surrounding areas. Remember to use the lower grit sandpaper first and gradually switch to higher grits for a smoother finish.
Step 4: Check Your Progress
Regularly inspect the Eva foam to check your progress. Look for any remaining rough patches or uneven areas and continue sanding until they are smooth. Remember, patience is key here. Don't rush the process, as over-sanding can damage the Eva foam.
Step 5: Finish and Polish
Once you've achieved a smooth finish, it's time to polish the Eva foam. You can use a polishing compound or a soft cloth to buff the surface and give it a shiny, professional look.
In conclusion, sanding Eva foam smoothly is a crucial step in achieving a professional finish for your DIY projects. By following these simple steps and using the right tools, you can transform your Eva foam into a sleek and smooth masterpiece. Remember to take your time and be patient, and you'll be rewarded with a stunning finished product.
how to remove eva foam decking
how to seal eva foam before painting
Related Article

20 Years of Manufacturing Excellence Delivering Superior EVA Foam for Diverse Industries
Excellent Black & White EVA Materials Now in Production – Visit Our Factory for Unbeatable Quality & Value!





















