
how to sand eva foam
2024-05-25
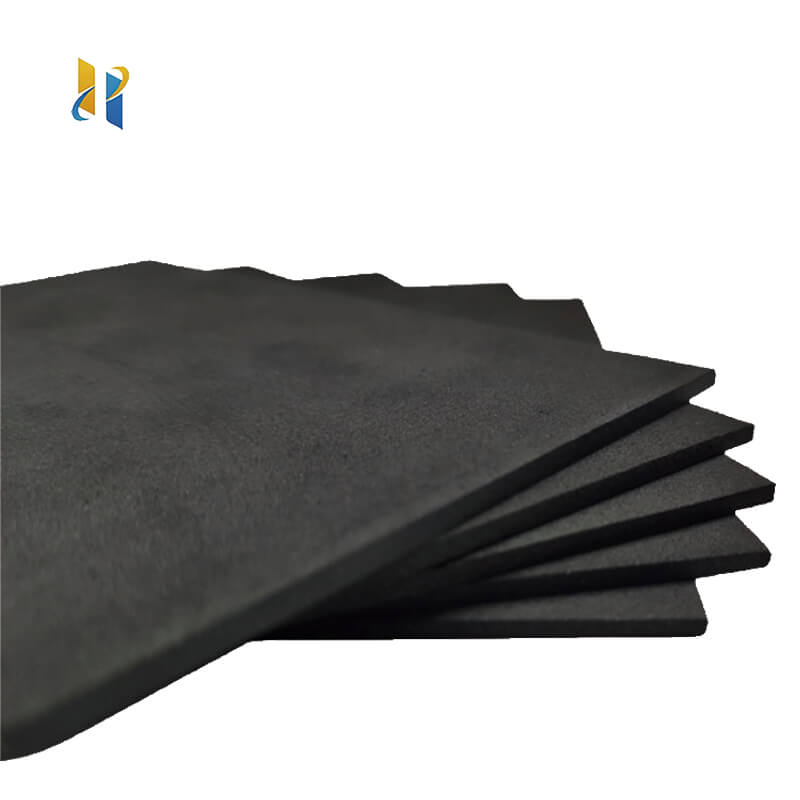
How to Sand EVA Foam for a Smooth Cosplay Finish
EVA (Ethylene-Vinyl Acetate) foam is a versatile material widely used in cosplay for creating intricate costumes and props. However, to achieve a professional and polished look, proper sanding of EVA foam is essential. Sanding not only smooths out the surface but also prepares it for painting and sealing. This guide will provide you with the techniques and tips for sanding EVA foam effectively, ensuring your cosplay pieces are flawless.
1. **Understanding the Sanding Process**:
Sanding EVA foam removes imperfections, smooths edges, and creates a surface that is ready for paint and sealant. It's a crucial step that can significantly impact the final appearance of your cosplay.
2. **Choosing the Right Sandpaper**:
Select a range of sandpaper grits, starting with a coarse grit (80-120) for initial shaping and progressing to finer grits (220-400) for smoothing. For the final touches, use very fine grit (600+) to achieve a silky-smooth finish.
Select a range of sandpaper grits, starting with a coarse grit (80-120) for initial shaping and progressing to finer grits (220-400) for smoothing. For the final touches, use very fine grit (600+) to achieve a silky-smooth finish.
3. **Preparing the Foam**:
Before sanding, ensure the foam is clean and free of debris. If you've applied a sealant, wait for it to dry completely before sanding. This will prevent clogging the sandpaper and ensure a consistent finish.
Before sanding, ensure the foam is clean and free of debris. If you've applied a sealant, wait for it to dry completely before sanding. This will prevent clogging the sandpaper and ensure a consistent finish.
4. **Sanding Techniques**:
Use a sanding block or a piece of wood wrapped with sandpaper to maintain an even pressure and prevent rounding off edges. Sand with the grain of the foam to avoid damaging the surface. For intricate details, consider using a Dremel tool with a sanding attachment.
Use a sanding block or a piece of wood wrapped with sandpaper to maintain an even pressure and prevent rounding off edges. Sand with the grain of the foam to avoid damaging the surface. For intricate details, consider using a Dremel tool with a sanding attachment.
5. **Wet Sanding for a Finer Finish**:
For the final stages of sanding, consider wet sanding with water to reduce dust and achieve a smoother finish. Dip the sandpaper in water and sand gently until the surface is free of scratches and imperfections.
For the final stages of sanding, consider wet sanding with water to reduce dust and achieve a smoother finish. Dip the sandpaper in water and sand gently until the surface is free of scratches and imperfections.
6. **Cleaning Up After Sanding**:
After sanding, use a soft brush or a vacuum with a brush attachment to remove all foam dust. This is especially important before painting to ensure a clean and even coat.
After sanding, use a soft brush or a vacuum with a brush attachment to remove all foam dust. This is especially important before painting to ensure a clean and even coat.
7. **Inspecting and Touching Up**:
Inspect your work under good lighting to spot any remaining imperfections. Touch up these areas with the appropriate grit of sandpaper until you're satisfied with the smoothness of the surface.
Inspect your work under good lighting to spot any remaining imperfections. Touch up these areas with the appropriate grit of sandpaper until you're satisfied with the smoothness of the surface.
Sanding EVA foam is a meticulous process that, when done correctly, can transform your cosplay pieces from rough to refined. By following these steps and using the right tools and techniques, you can ensure that your foam surfaces are ready for the next stages of painting and sealing. Remember to take your time, work safely, and enjoy the process of bringing your cosplay creations to life.
how to prime eva foam
how to seal eva foam
Related Article

20 Years of Manufacturing Excellence Delivering Superior EVA Foam for Diverse Industries
Excellent Black & White EVA Materials Now in Production – Visit Our Factory for Unbeatable Quality & Value!





















