
how to seal eva foam before painting
2024-04-03
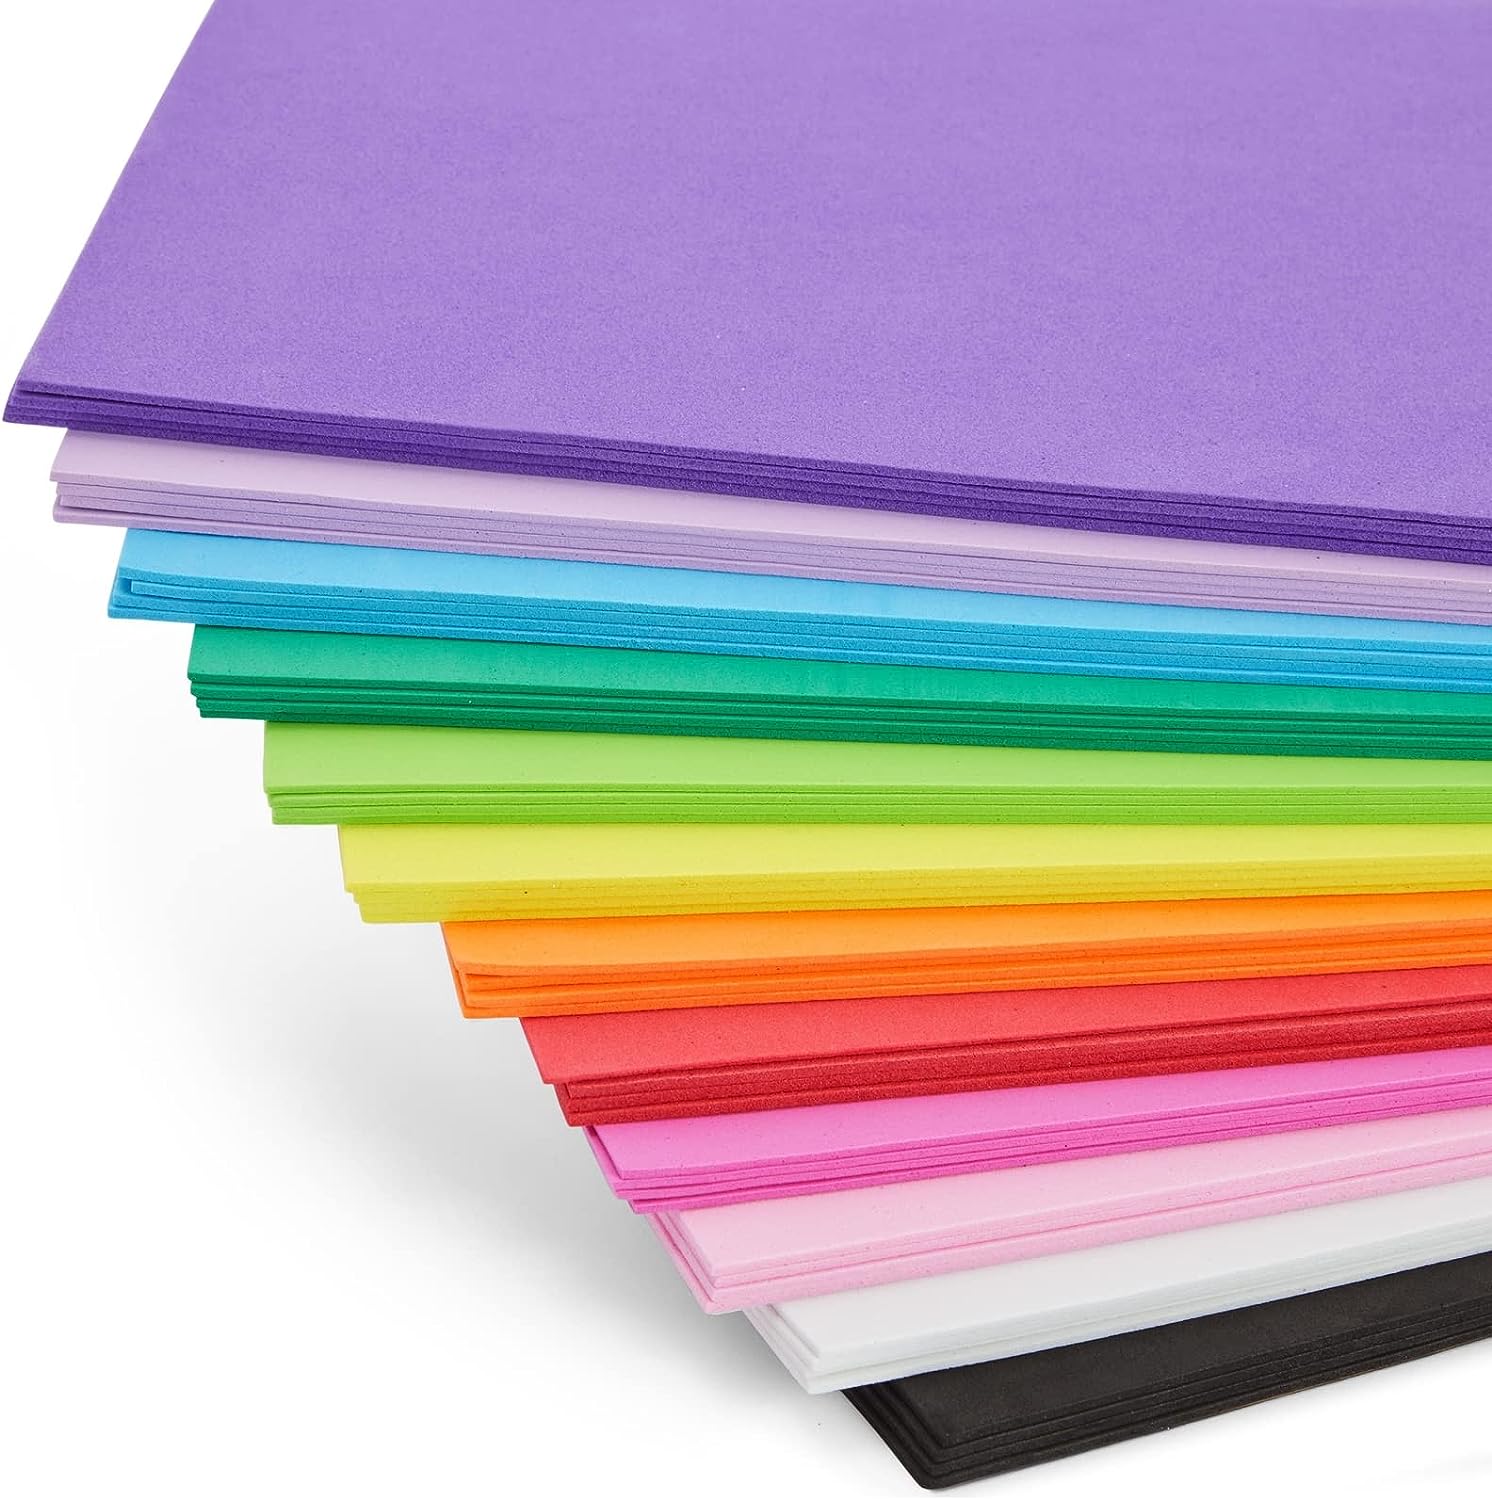
How to Seal Eva Foam Before Painting: A Crucial Step for a Professional Finish
Eva foam is a popular material for craft projects, costumes, and DIY home decor. However, painting Eva foam can be a challenge without proper preparation. Sealing the foam before painting is a crucial step that ensures a smooth, professional finish. In this article, we'll explore how to seal Eva foam effectively before painting, ensuring your project turns out exactly as you envisioned.
Step 1: Gather Your Materials
Before you begin, make sure you have all the necessary materials. You'll need Eva foam, a sealing agent such as Mod Podge or acrylic sealer, a paintbrush or spray bottle for applying the sealer, and the paint you plan to use.
Step 2: Prepare the Eva Foam
Clean the Eva foam to remove any dust or debris that could interfere with the sealing process. Use a damp cloth to wipe down the surface, ensuring it's dry before proceeding.
Step 3: Apply the Sealing Agent
Choose a sealing agent that is compatible with both the Eva foam and the paint you'll be using. Apply the sealer evenly over the entire surface of the foam, using a paintbrush or spray bottle. Make sure to cover all areas, including edges and corners.
Step 4: Allow the Sealer to Dry
Let the sealing agent dry completely before painting. This step is crucial to ensure the paint adheres properly to the foam and achieves a smooth finish. Follow the manufacturer's instructions for drying time, as this may vary depending on the type of sealer used.
Step 5: Paint the Eva Foam
Once the sealing agent has dried, you can begin painting the Eva foam. Use the paintbrush or spray paint to apply the desired color, following the instructions on the paint can. Remember to apply multiple coats if necessary to achieve the desired opacity and coverage.
Step 6: Allow the Paint to Dry and Enjoy Your Creation
After painting, allow the Eva foam to dry completely. Once dry, your project will be ready to use or display. The sealing agent will help protect the foam from wear and tear, ensuring your creation looks great for longer.
Sealing Eva foam before painting is a simple but essential step that can make a huge difference in the finished look of your project. By following these steps, you'll be able to achieve a smooth, professional finish that will enhance the overall appearance and durability of your Eva foam creation. So, don't skip this crucial step and give your project the best possible start!
how to sand eva foam smooth
how to shape eva foam with a heat gun
Related Article

20 Years of Manufacturing Excellence Delivering Superior EVA Foam for Diverse Industries
Excellent Black & White EVA Materials Now in Production – Visit Our Factory for Unbeatable Quality & Value!





















