How use color EVA foam to make the crafts
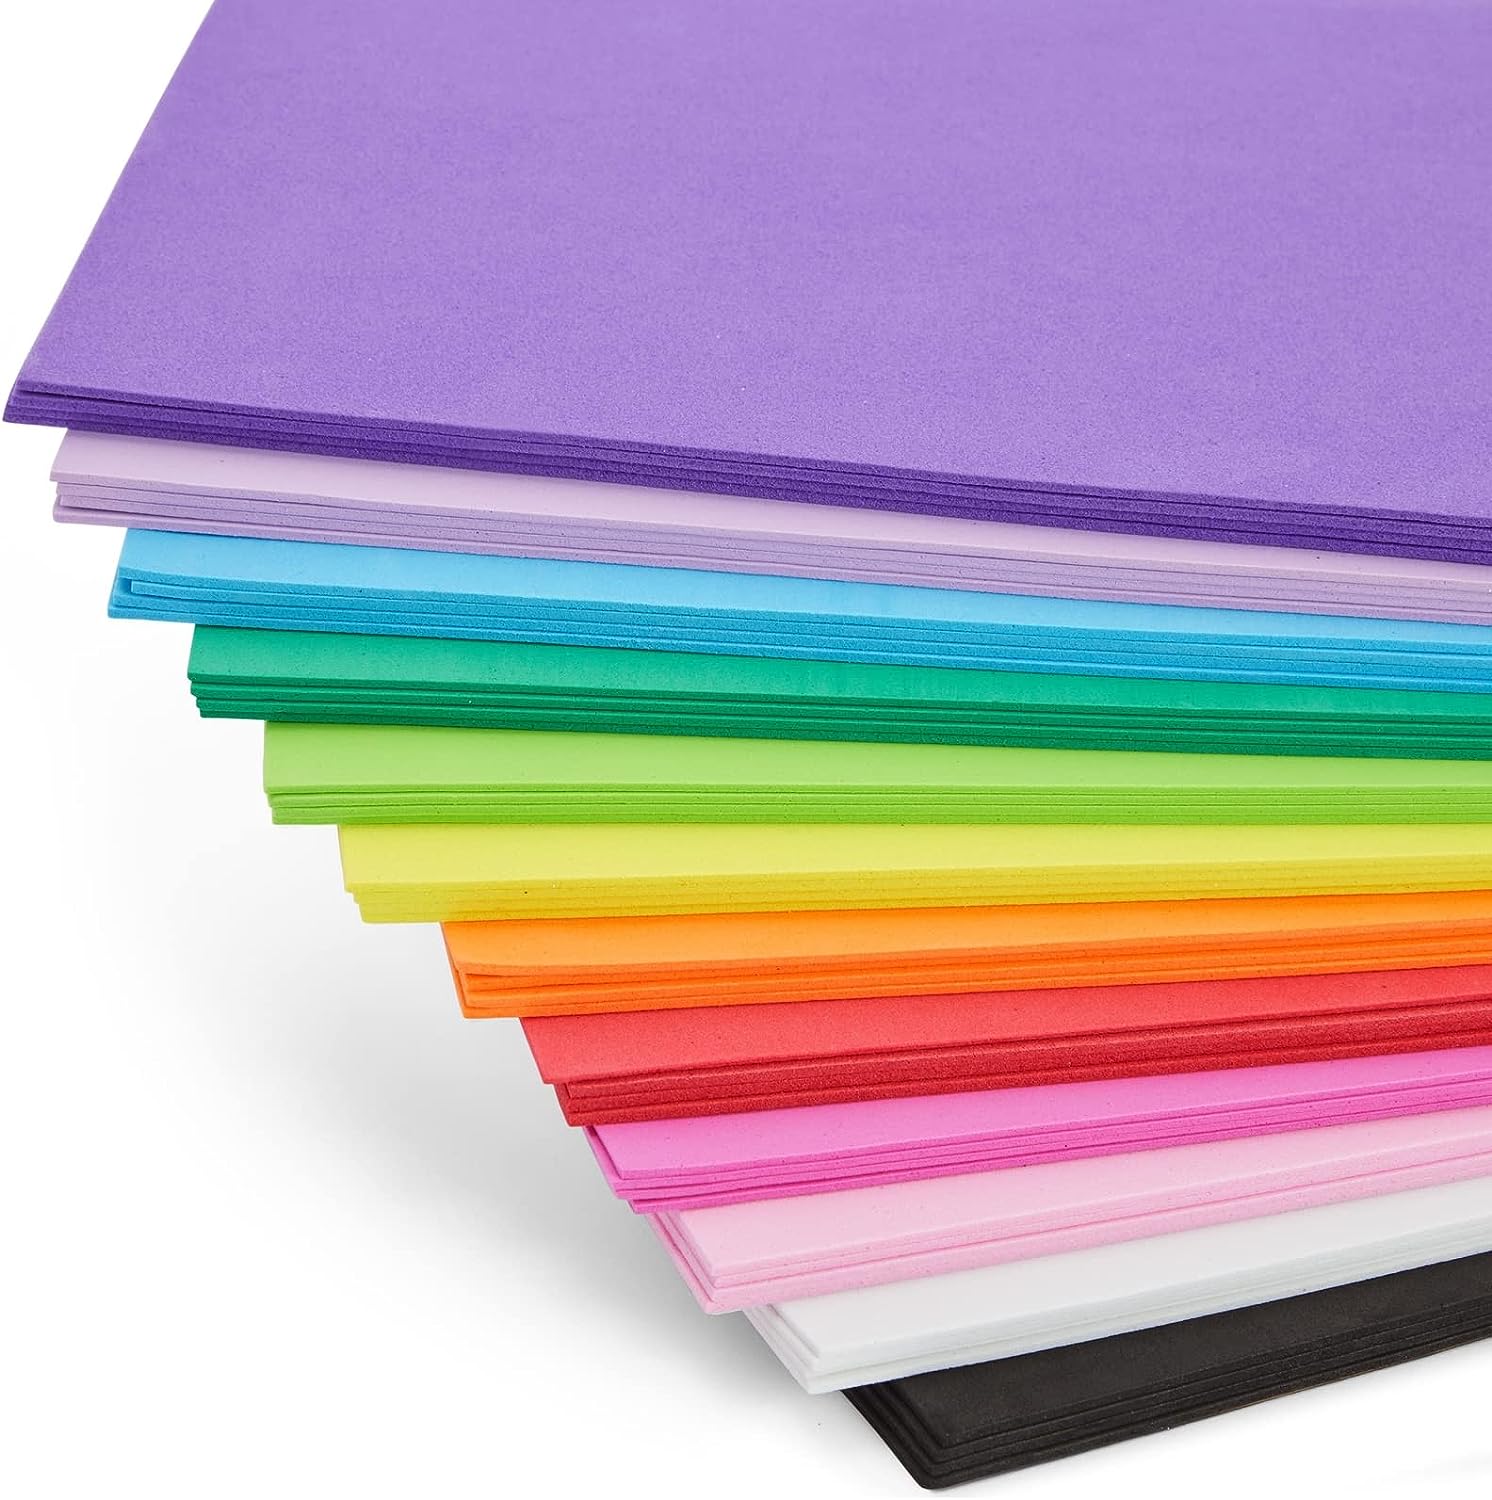
Essential Tools & Materials
You don't need everything to start! Begin with the basics and expand your toolkit as you go.

-
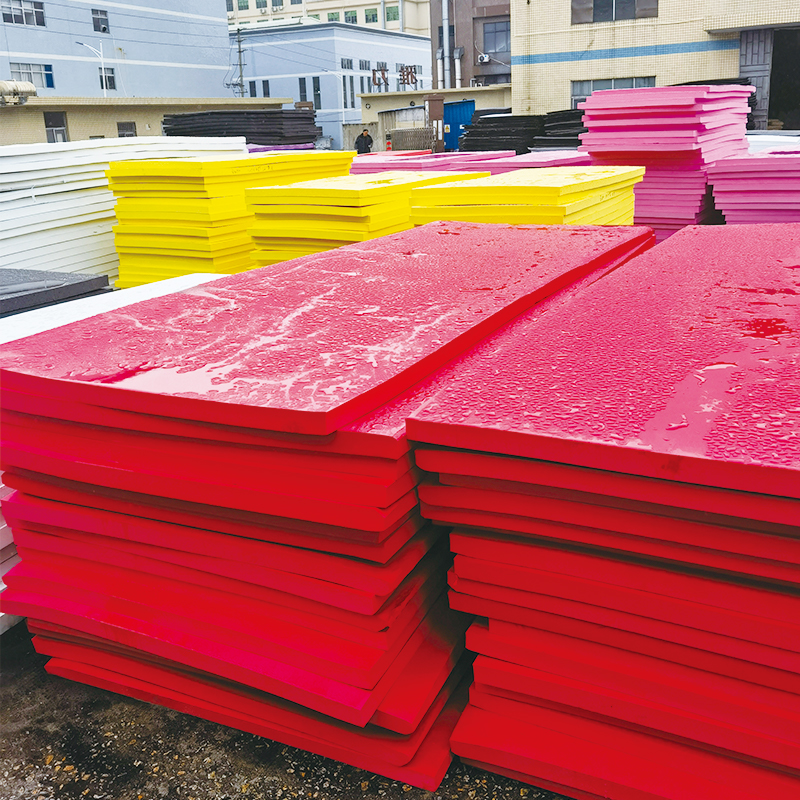
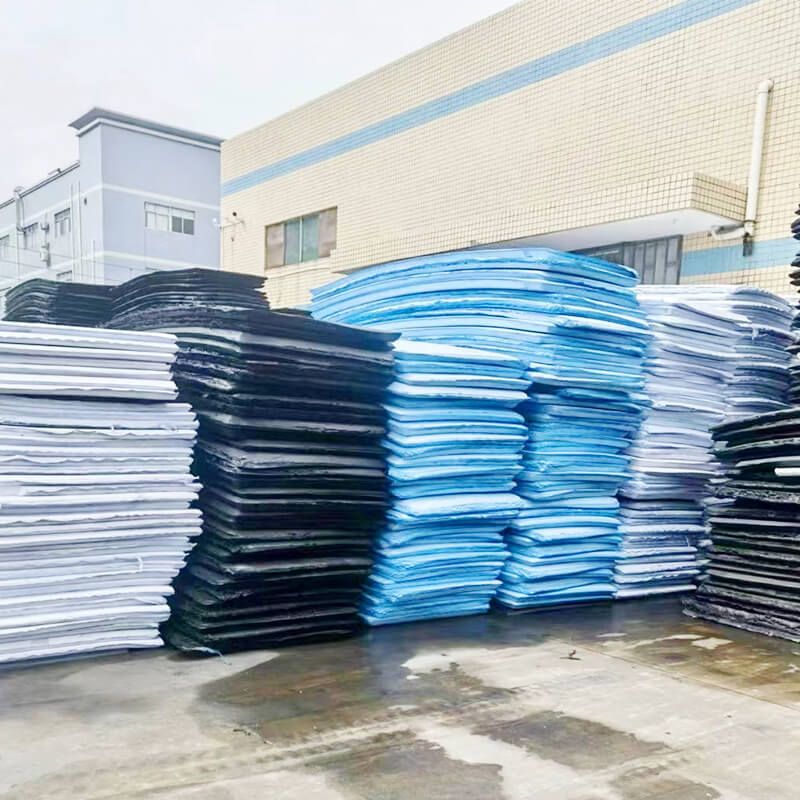
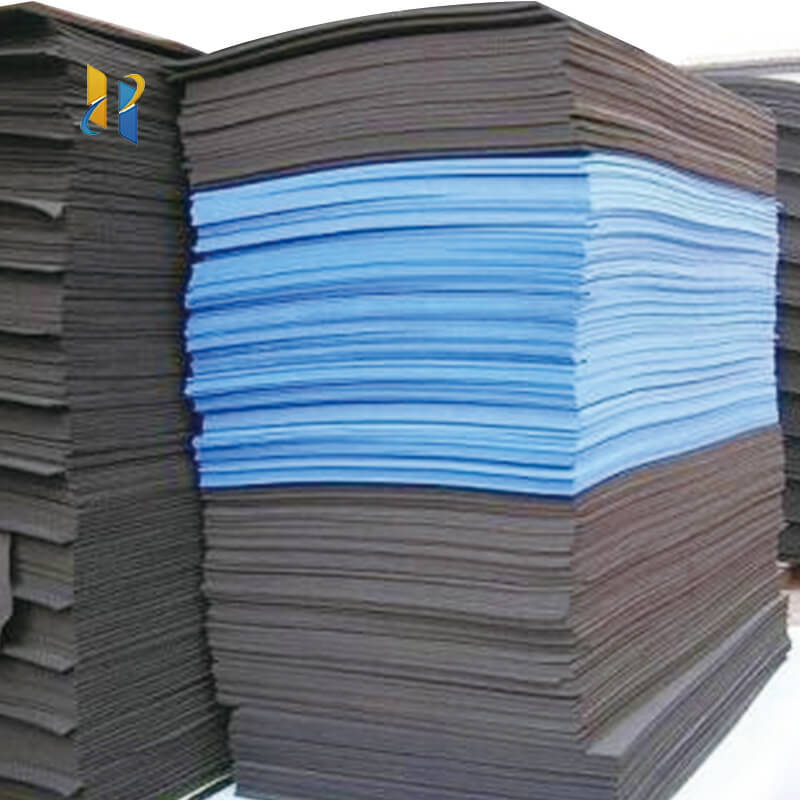
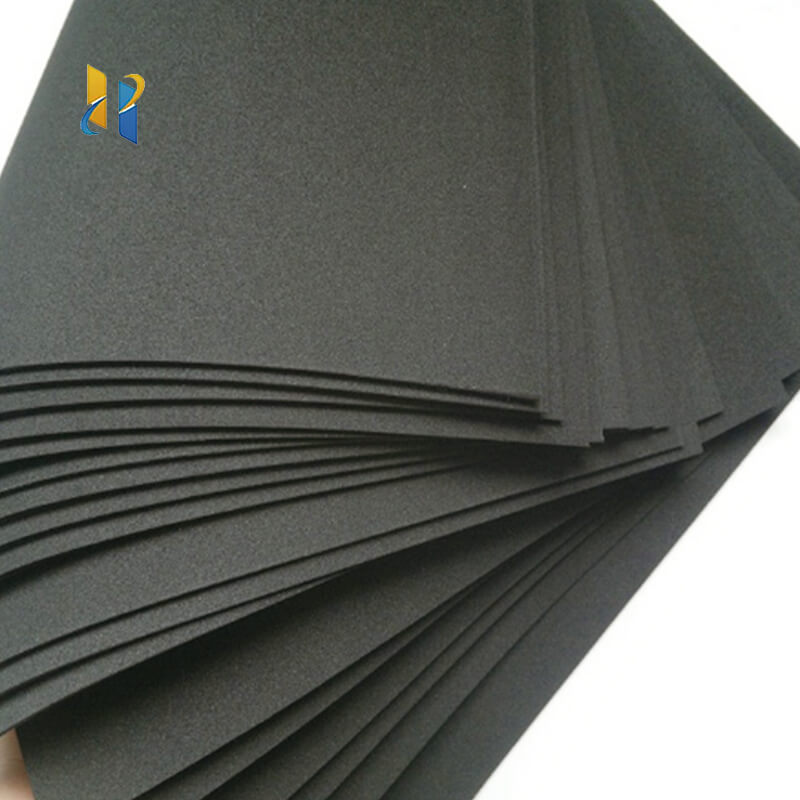
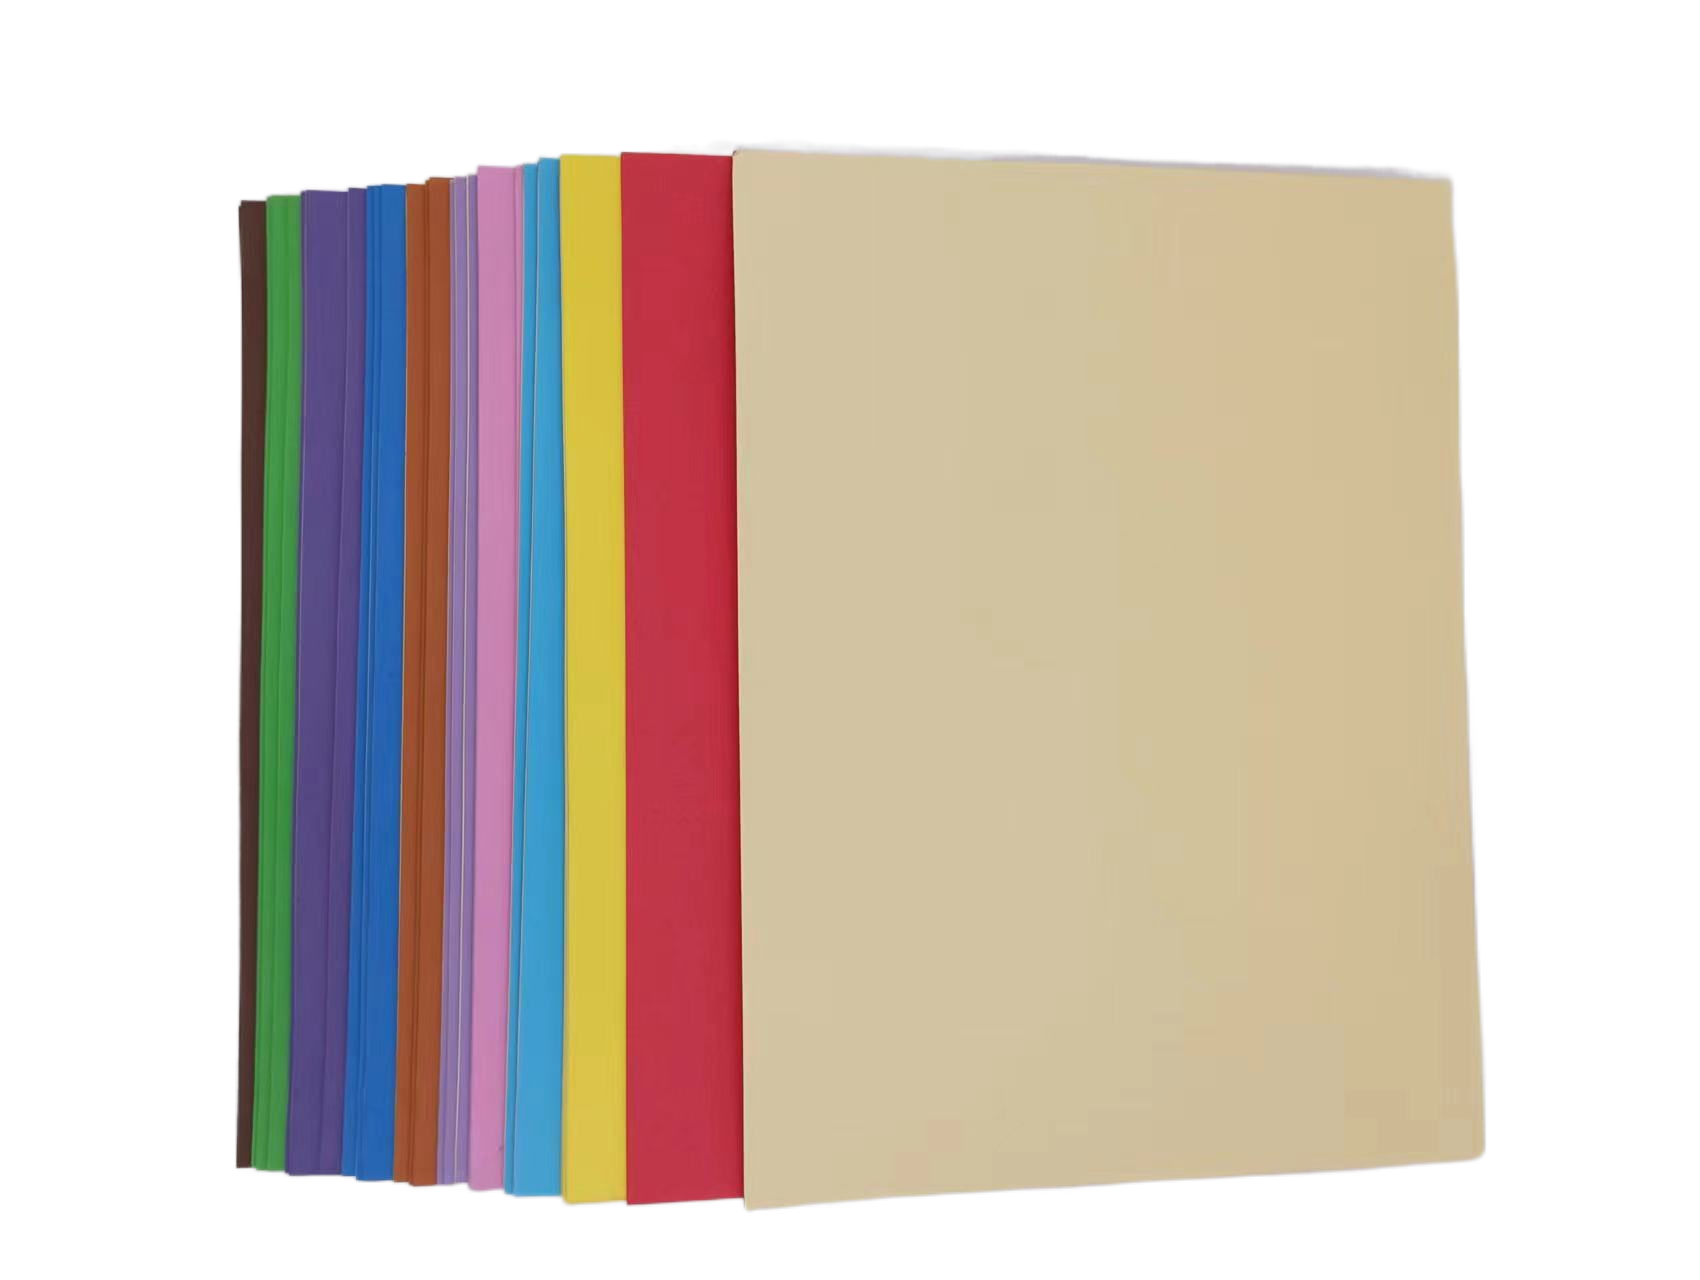
Sheets: Various thicknesses (2mm, 5mm, 10mm are common). Thinner for details, thicker for structure.
-
Pre-cut Shapes: Great for kids' crafts.
-
Rolls: Good for covering large areas.
Cutting Tools:
-
Utility Knife/Box Cutter: Your go-to for most straight cuts.
-
Precision Craft Knife (X-Acto): Essential for intricate details and curves.
-
Scissors: Good for quick cuts on thinner foam.
-
Hot Knife: (Advanced) Melts through foam for super smooth edges.
Adhesives:
-
Low-Temp Hot Glue Gun: The fastest and most common method. Great for bonding. It can leave strings and a visible ridge.
-
Contact Cement (e.g., Barge, Dap): The professional's choice for seams. It creates a strong, flexible, and nearly invisible bond. Use in a well-ventilated area.
-
Super Glue (Cyanoacrylate): Good for attaching very small details quickly.
-
E6000: A strong, flexible craft adhesive. Slower drying but very durable.
Shaping & Finishing:
-
Heat Gun: Crucial for shaping. Gently heating foam makes it pliable so you can bend and form it. It also seals the surface for painting.
-
Paint: Acrylic paint works well. Specialized primers like Plasti Dip or FlexiPaint help create a flexible, paintable skin.
-
Sealer: Mod Podge, PVA glue, or a clear acrylic sealer to protect the final piece.
-
A Pen/Pencil: For tracing patterns.
-
A Cutting Mat: To protect your surfaces.

Step-by-Step Process
1. Design & Pattern Making
-
Sketch: Draw your idea on paper. Break down complex 3D objects into flat 2D pieces (this is called "patterning").
-
Create a Template: Trace your drawn pieces onto paper (cardstock, newspaper, or pattern paper works well) and cut them out. This allows you to test the fit before cutting your valuable colored foam.
-
Test Fit: Tape your paper pieces together to see if they form the shape you want. Adjust as needed.
2. Transferring the Pattern
-
Place your paper templates onto the colored EVA foam.
-
Secure them with a bit of tape or hold them firmly.
-
Trace around the template with a pen or pencil. Use a white or silver gel pen if tracing on dark foam.
-
Pro Tip: Leave a small gap (1-2mm) between pieces if you plan to bevel your edges (see next step).
3. Cutting the Foam
-
Use a sharp blade. A dull blade will tear and leave a rough edge.
-
For long, straight cuts: Use a utility knife and a metal ruler as a guide. Make several light passes rather than trying to cut through in one go.
-
For curves and details: Use a precision craft knife. Turn the foam, not your wrist, for smoother curves.
4. Level Up: Beveling Edges (for a professional look)
This is the secret to hiding the foam's thickness and creating seamless joins.
-
Hold your craft knife at a 45-degree angle.
-
Gently shave off the top edge of your foam piece. This creates a slope.
-
When two beveled edges are glued together, they form a perfect, sharp corner instead of a clunky, flat one.
5. Shaping the Foam
-
This is where your heat gun comes in.
-
Put on heat-resistant gloves.
-
Gently wave the heat gun over the area you want to shape until the foam becomes soft and pliable (it will start to curl). Don't hold it too close or you'll burn the foam!
-
Quickly bend the foam into the desired shape (over your knee, a can, a bottle) and hold it until it cools and sets (only takes seconds).
6. Gluing & Assembly
-
For Hot Glue: Apply a bead of glue to one edge and press the pieces together firmly. Hold for 30 seconds until it sets.
-
For Contact Cement (Strongest Seams):
-
Apply a thin layer to both surfaces you want to join.
-
Let it dry until it's no longer wet to the touch (5-10 minutes).
-
Carefully align the pieces—once they touch, they BOND IMMEDIATELY and cannot be repositioned!
-
Press the seam together firmly.
-
7. Finishing (Painting & Sealing)
Even with colored foam, you might want to add shadows, highlights, or wear-and-tear.
-
Seal First: If you're painting, always heat seal the foam first with a heat gun (until the surface just glistens) or apply a layer of Plasti Dip/FlexiPaint. This prevents the paint from soaking in and becoming dull.
-
Paint: Use acrylic paints. Dry brushing (using a dry brush with very little paint) is excellent for highlighting textures and edges.
-
Final Seal: Once the paint is completely dry, seal your project with a clear acrylic sealer (spray or brush-on) or Mod Podge to protect it from scratches and UV light.

Project Ideas to Get You Started
-
Simple: Keychains, bookmarks, coasters, picture frames, stamps for kids.
-
Intermediate: Masks, jewelry (cuffs, large statement necklaces), decorative boxes, wall art.
-
Advanced: Cosplay armor, props (swords, shields), 3D sculptures, detailed costume pieces.
Important Tips & Tricks
-
Mind the Heat: A heat gun is very hot. Always work in a well-ventilated area and keep it away from flammable materials.
-
Embrace Texture: You can create amazing textures by pressing things into heated foam (e.g., balled-up foil for scales, a rock for concrete, fabric for weave).
-
Sand It: You can sand EVA foam with low-grit sandpaper to smooth edges or shape surfaces.
-
Layer for Detail: Glue smaller, differently colored pieces on top of a base layer to create complex designs without any painting.
The best way to learn is to experiment! Grab some foam, a knife, and a glue gun and start making something.
Is EVA non-toxic?
EVA Foam Handicraft Materials
Related Article