
cutting eva foam decking
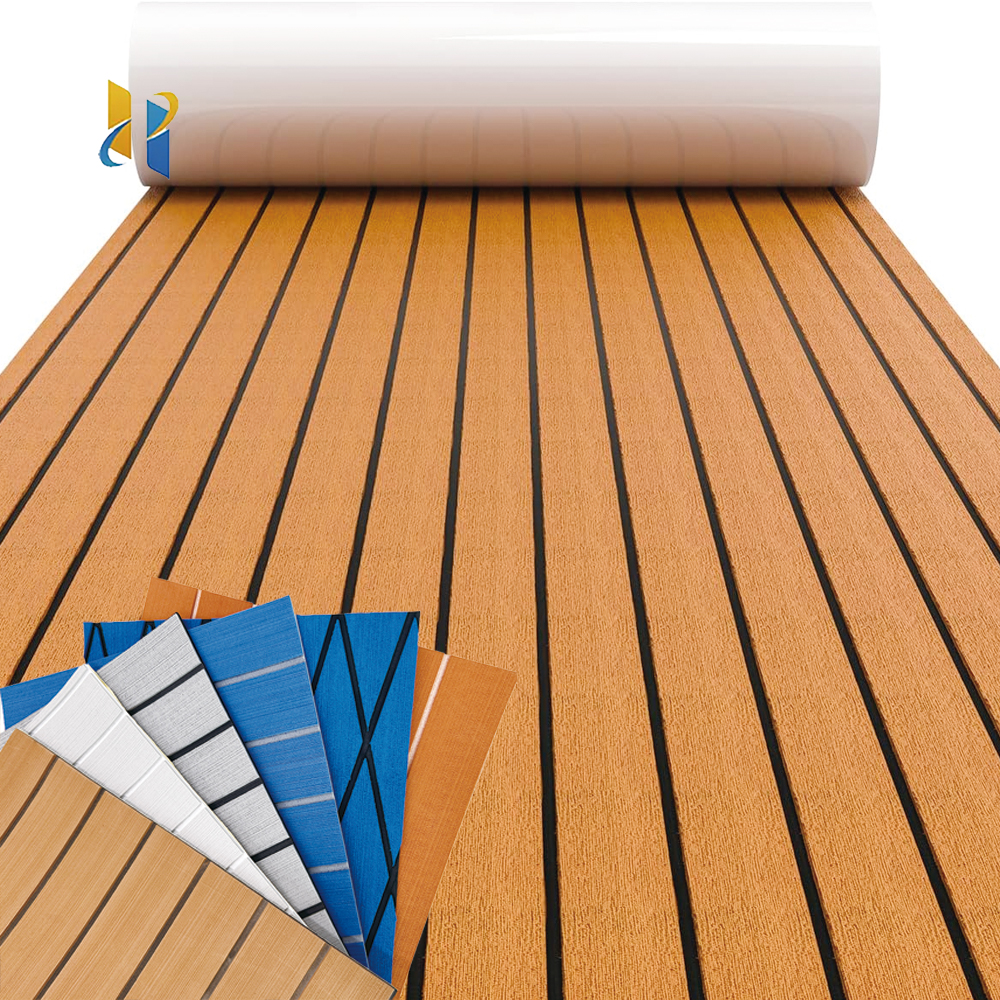
Crafting Durable Decking with EVA Foam: A Guide to Cutting and Shaping the Future of Outdoor Spaces
Introduction:
As the demand for eco-friendly and low-maintenance outdoor solutions grows, EVA foam decking has emerged as a game-changer in the landscaping industry. Known for its lightweight yet sturdy construction, resistance to moisture, and ease of installation, EVA foam decking is quickly becoming a favorite among homeowners and designers alike. In this article, we'll delve into the art of cutting EVA foam decking, providing you with valuable insights and practical tips to help you create stunning outdoor spaces that are both functional and sustainable.
Step 1: Understanding EVA Foam Decking
Before diving into the cutting process, it's crucial to understand the unique properties of EVA foam decking. This material is designed to withstand the elements while retaining its shape and color, making it ideal for outdoor applications. It's important to note that while EVA foam is versatile, it requires special handling and tools to ensure a precise and professional-looking cut.
Step 2: Gathering the Right Tools
To successfully cut EVA foam decking, you'll need a combination of precision tools and safety gear. A sharp utility knife or circular saw blade specifically designed for foam materials is essential. A straightedge or guide rail can help you maintain a straight cut, while a respirator and protective eyewear are necessary to safeguard your health during the cutting process.
Step 3: Measuring and Marking
Accurate measurements are key to achieving a flawless fit. Use a tape measure to determine the dimensions of your decking pieces, and then carefully mark the cutting lines on the foam with a pencil or marker. For larger projects, consider using a chalk line or laser level to ensure your lines are perfectly straight.
Step 4: Cutting Techniques
When it comes to cutting EVA foam decking, there are several techniques to consider. For straight cuts, a circular saw with a foam-cutting blade can be efficient and precise. For intricate shapes or curves, a jigsaw or router with the appropriate bit may be more suitable. Always start your cuts slowly and steadily, allowing the tool to do the work and avoiding excessive force that could damage the foam.
Step 5: Finishing Touches
Once all your decking pieces are cut to size, take a moment to inspect them for any rough edges or imperfections. Lightly sanding these areas with a fine-grit sandpaper can help create a smooth, finished look. Remember, EVA foam is sensitive to heat, so avoid using power sanders or other tools that may generate excessive friction.
Step 6: Installation and Beyond
With your beautifully cut EVA foam decking pieces ready, it's time to install them and enjoy your new outdoor space. Follow the manufacturer's instructions carefully to ensure a secure and long-lasting installation. And once your deck is complete, you can add finishing touches like paint, stain, or sealant to protect your investment and enhance its appearance.
Conclusion:
Crafting durable decking with EVA foam is a rewarding experience that combines the best of eco-friendliness, durability, and design. By following these simple steps and investing in the right tools, you can create stunning outdoor spaces that will stand the test of time. Whether you're a DIY enthusiast or a professional contractor, the versatility and ease of EVA foam decking make it a smart choice for your next project. So, get out there and start shaping the future of your outdoor living spaces today!
die cut eva foam
cutting circles in eva foam
Related Article






















