
eva foam how to
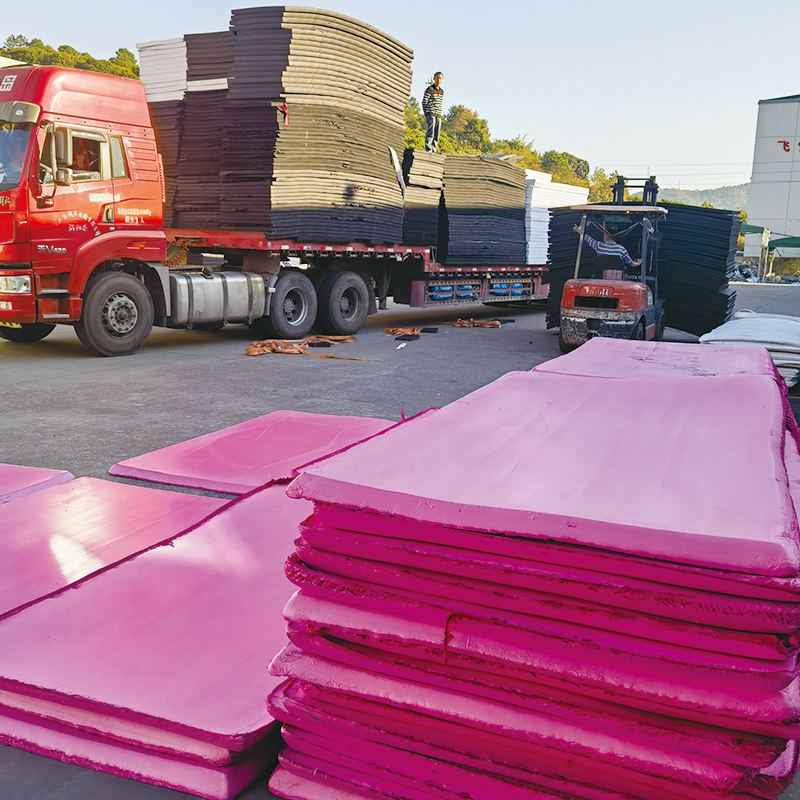
Mastering the Art of Working with EVA Foam: A Comprehensive Guide
Introduction:
EVA foam, or Ethylene Vinyl Acetate foam, has become a staple in the world of DIY, crafting, and even professional manufacturing due to its versatility, durability, and ease of use. But if you're new to the material or looking to refine your skills, knowing "how to" work with EVA foam can be the difference between a mediocre project and a masterpiece. In this comprehensive guide, we'll walk you through the basics of EVA foam, from selecting the right type to mastering cutting, shaping, and finishing techniques.
Body:
Step 1: Understanding EVA Foam
Before diving into the how-to's, it's crucial to understand the properties of EVA foam. Its lightweight nature, shock-absorbing capabilities, and ease of customization make it an ideal material for a wide range of projects. Knowing the different densities, thicknesses, and colors available will help you select the perfect EVA foam for your needs.
Step 2: Preparing Your Workspace
A well-organized workspace is key to successful EVA foam projects. Make sure to clear a large, flat surface, protect it with a cutting mat, and gather all the necessary tools, such as scissors, knives, sandpaper, and glue. Safety first – wear protective gear like gloves and eye protection to prevent injuries.
Step 3: Cutting and Shaping EVA Foam
EVA foam is incredibly easy to cut and shape, but precision is key. Use a sharp knife or electric cutter to make clean, straight lines or intricate designs. Practice on scrap pieces before tackling your main project. Remember, slow and steady wins the race – take your time to achieve the desired shape and size.
Step 4: Finishing Touches
Once your EVA foam is cut and shaped, it's time to add the finishing touches. Sanding the edges will help remove any rough patches and give your project a polished look. You can also paint, stain, or apply a sealant to enhance the color, texture, and durability of your EVA foam.
Step 5: Assembling and Adding Details
Now that your EVA foam pieces are ready, it's time to assemble your project. Use glue or fasteners to attach the different components securely. Add any additional details, such as fasteners, zippers, or Velcro, to make your project more functional and durable.
Advanced Techniques
As you become more proficient with EVA foam, you can explore advanced techniques like heat molding, layering different densities for added strength, or incorporating other materials like fabric or leather for a unique look.
Conclusion:
Working with EVA foam is a rewarding experience that can unlock a world of creative possibilities. By mastering the basics and experimenting with advanced techniques, you'll be able to create stunning projects that stand the test of time. With this comprehensive guide, you're now equipped with the knowledge and skills to turn your EVA foam ideas into reality. So, what are you waiting for? Get started on your next EVA foam project today!
eva foam how to shape
eva foam health
Related Article






















