
how to glue eva foam
2024-03-27
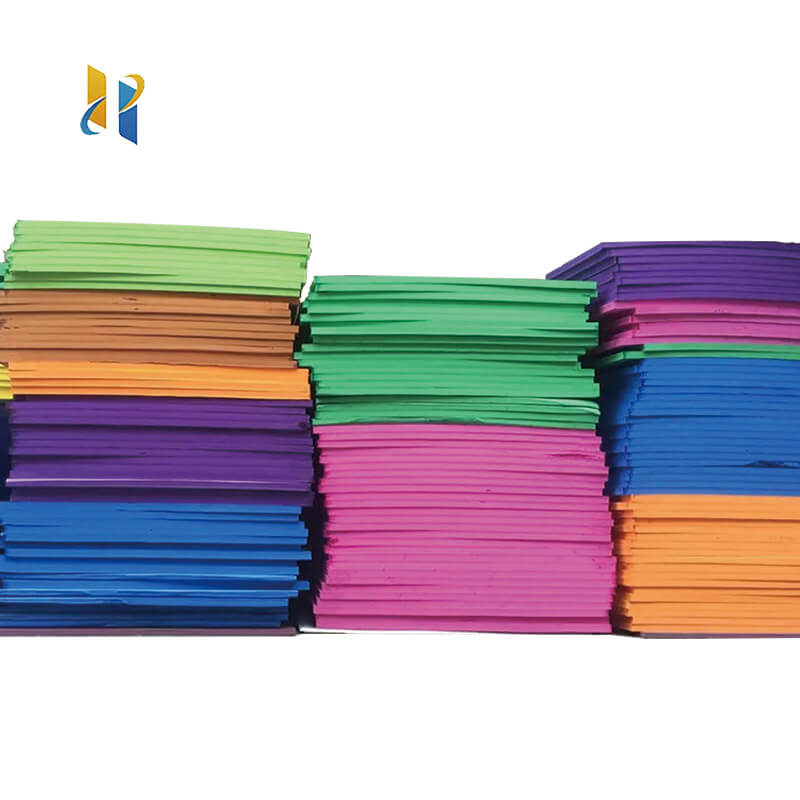
How to Glue EVA Foam: A Step-by-Step Guide for a Secure Bond
EVA foam, known for its lightweight, durable, and flexible properties, is a popular material used in various crafting and DIY projects. Whether you're making costumes, props, or simply want to add some extra padding to your home, knowing how to glue EVA foam effectively is crucial. In this article, we'll guide you through the process of gluing EVA foam for a secure and long-lasting bond.
Materials Needed:
-
EVA foam sheets
-
EVA foam glue or strong craft adhesive
-
Scissors or a cutting tool
-
Sandpaper (optional)
-
Clamps or heavy objects (optional)
Step 1: Preparing the EVA Foam
Before gluing, ensure that the EVA foam sheets are clean and free of dust or debris. You may need to trim or cut the sheets to the desired size or shape using scissors or a cutting tool. If the edges are rough, you can use sandpaper to smooth them out.
Step 2: Applying the Glue
Choose an EVA foam-specific glue or a strong craft adhesive that is compatible with EVA foam. Apply a thin, even layer of glue to one side of the EVA foam sheet, using a brush or the applicator that comes with the glue. Avoid using too much glue, as this can cause the foam to become soggy or the bond to be weak.
Step 3: Positioning and Pressing
Carefully position the second sheet of EVA foam on top of the glued one, aligning the edges as needed. Press firmly and evenly to ensure that the glue adheres to both sheets. You can use clamps or heavy objects to hold the sheets in place while the glue dries, but be careful not to apply too much pressure, as this can distort the foam.
Step 4: Allowing the Glue to Dry
Follow the manufacturer's instructions for the drying time of the glue you're using. Typically, EVA foam glue takes several minutes to set, but it's always best to give it plenty of time to dry completely. Avoid handling the glued area until it's fully dry to prevent any weak spots or separations.
Tips and Tricks for a Better Bond
-
Make sure the surfaces of the EVA foam are clean and free of oil or dirt, as these can affect the adhesion of the glue.
-
Apply the glue in a well-ventilated area, as some adhesives can produce fumes.
-
If you're working with larger pieces of EVA foam, consider using a hot glue gun or a stronger adhesive for a more secure bond.
-
For added strength, you can apply multiple layers of glue or use tape to reinforce the edges of the bonded area.
By following these steps and tips, you'll be able to glue EVA foam effectively for your next project. Whether you're a DIY enthusiast or a professional craftsman, knowing how to work with EVA foam will expand your creative possibilities and help you create stunning and durable pieces.
how to cut eva foam
how to use eva foam
Related Article

20 Years of Manufacturing Excellence Delivering Superior EVA Foam for Diverse Industries
Excellent Black & White EVA Materials Now in Production – Visit Our Factory for Unbeatable Quality & Value!





















