how to cut foam inserts
How to Cut Foam Inserts: A Comprehensive Guide
Introduction
Foam inserts are versatile and essential for protecting delicate items, Foam inserts for cases, and creating custom padding solutions. Whether you're a DIY enthusiast, a professional packager, or someone looking to upgrade their storage solutions, learning how to cut foam inserts accurately and efficiently is a valuable skill. In this guide, we'll walk you through the steps, tools needed, and address common questions to ensure your foam-cutting project is a success.

How to Cut Foam Inserts
Before you start cutting, gather these essential tools and materials:
-
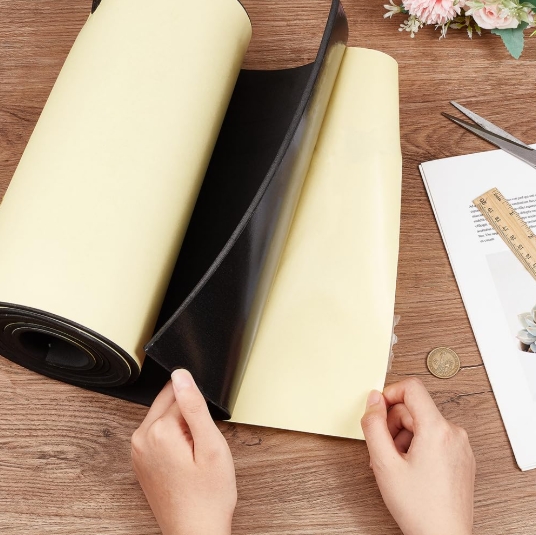
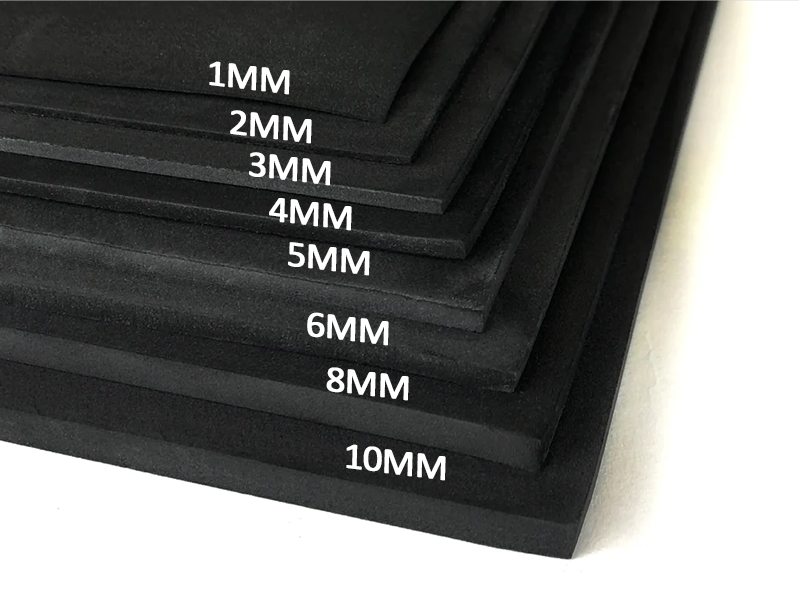
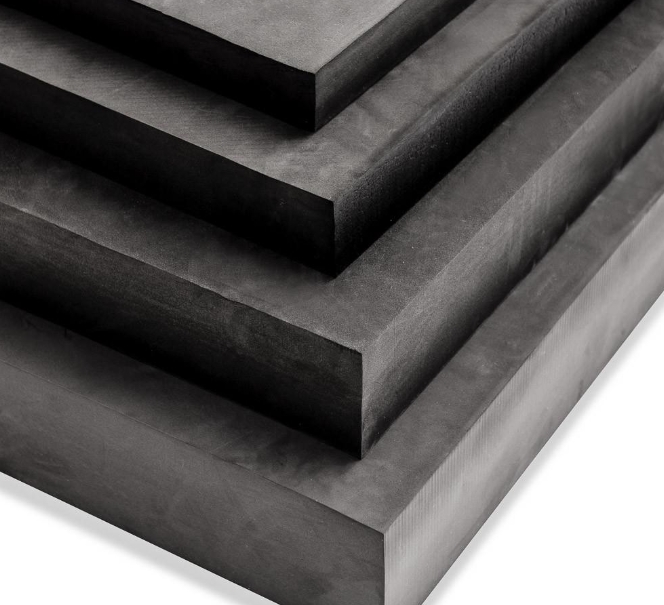
Foam Insert: Ensure it's the right type (We recommend that you use EVA Foam or EPE Foam) for your project.
- Sharp Blade or Utility Knife: A high-quality knife with a fresh blade is crucial.
- Straightedge or Ruler: For precise measurements and straight cuts.
- Marking Tool: Such as a pen or pencil for outlining your cuts.
- Cutting Mat: Protects your work surface from knife marks.
- Optional: Electric Foam Cutter or Hot Wire Foam Factory: For larger volumes or intricate designs.

Steps to Cut Foam Inserts:
-
Measure and Mark: Use your ruler and marking tool to outline the dimensions and shapes you need on the foam insert. Be precise and double-check your measurements.
-
Prepare Your Workspace: Place your foam on a stable, flat surface covered with a cutting mat. This prevents the foam from shifting and protects your work area.
-
Make the Cuts:
-
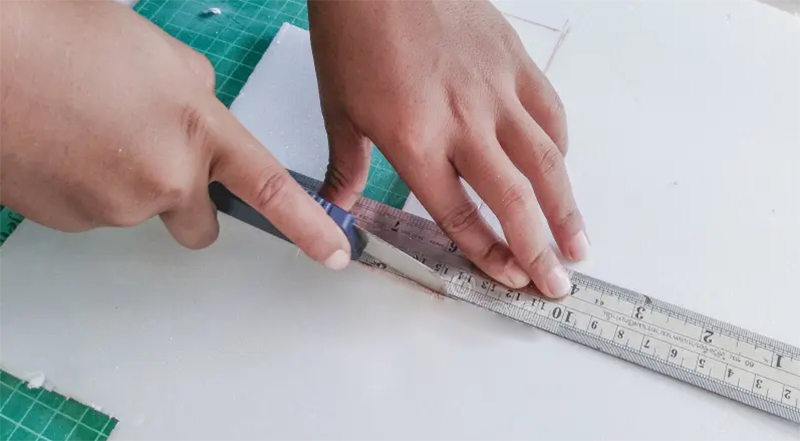
Straight Cuts: Hold your straightedge firmly along the marked line and use your utility knife to cut along it. Apply even pressure and a steady hand.
-
Curved Cuts: For curved or irregular shapes, cut slowly and carefully, freehand or using a flexible ruler as a guide.
-
-
Smooth Edges: Once cut, you may need to smooth any rough edges with a fine-toothed saw or sandpaper.
-
Test Fit: Before finalizing, test fit your foam insert into its intended space to ensure it fits perfectly.
Conclusion
Cutting foam inserts doesn't have to be a daunting task. With the right tools, precise measurements, and patience, you can create custom foam solutions tailored to your needs. Whether you're protecting fragile items, Tool box foam inserts, or enhancing storage solutions, mastering the art of foam cutting opens up a world of possibilities. Remember, safety first – always wear protective gear like gloves and safety glasses when handling sharp tools.
FAQs
Q: What is the best type of foam for custom inserts?
A: The best foam type depends on your needs. EVA foam sheet is durable and moisture-resistant, ideal for packaging. Polyurethane foam is softer and often used for cushioning and soundproofing. Memory foam conforms to shapes, great for custom molding.
Q: Can I use a regular scissors to cut foam inserts?
A: While possible for very thin foam, scissors won't provide the clean, straight cuts that a sharp utility knife can. For thicker or denser foams, scissors may not be effective and could damage the blades.
Q: How do I avoid tearing when cutting foam?
A: Tearing often occurs when the blade isn't sharp enough or when too much pressure is applied. Use a fresh blade, cut slowly, and apply even pressure. Supporting the foam on both sides while cutting can also prevent tearing.
Q: Is there an easier way to cut large quantities of foam inserts?
A: For high-volume projects, consider investing in an electric foam cutter or hot wire foam factory. These tools can make quick work of large pieces of foam and produce clean, consistent cuts.
Q: Can I recycle foam inserts after cutting?
A: Some types of foam, particularly polystyrene, can be recycled. Check with your local recycling center to see if they accept the type of foam you're working with. Proper disposal or recycling is important to reduce environmental impact.
is eva foam recyclable
tpu vs eva foam