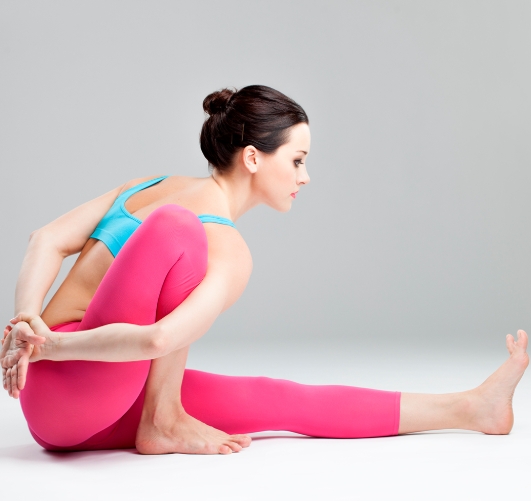
how to use a yoga foam roller
How to Use a Yoga Foam Roller
Introduction to Yoga Foam Rolling
A yoga foam roller is a versatile fitness tool designed to enhance flexibility, reduce muscle tension, and improve overall mobility. Whether you’re a yoga enthusiast, athlete, or someone recovering from an injury, learning how to use a foam roller effectively can transform your wellness routine. In this guide, we’ll break down the basics, benefits, and step-by-step techniques to help you roll like a pro.

Why Use a Yoga Foam Roller?
Before diving into the how, let’s explore the why. Foam rolling:
-
Relieves muscle tightness by targeting trigger points and fascia.
-
Boosts circulation to promote faster recovery.
-
Enhances range of motion for better performance in workouts or yoga poses.
-
Reduces soreness after exercise.
Getting Started: Preparing to Roll
-
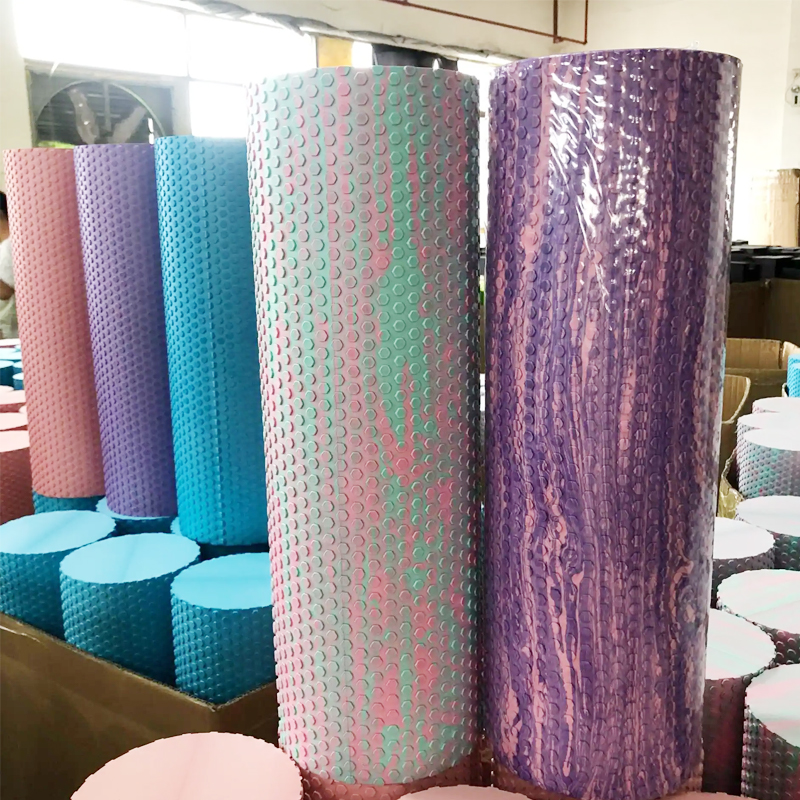
Choose the right roller: Opt for a dense, medium-firm foam roller for general use. Beginners may prefer a textured surface for better grip.
-
Warm up first: Light cardio or dynamic stretches (e.g., arm circles, leg swings) prepare muscles for rolling.
-
Start slow: Apply gentle pressure and breathe deeply. Pain is not progress—adjust pressure as needed.

Step-by-Step Guide to Foam Rolling Techniques
1. Upper Back and Shoulders
-
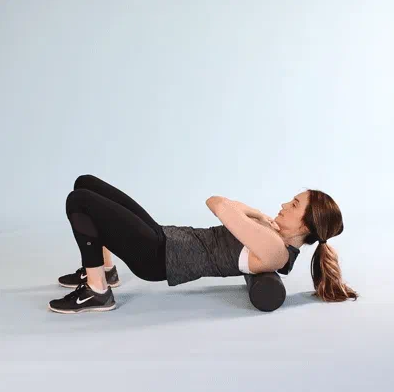
Lie on your back, knees bent, and place the roller under your shoulder blades.
-
Extend arms overhead and slowly roll from your upper back to your mid-back.
-
Target: Trapezius and rhomboid muscles.
-
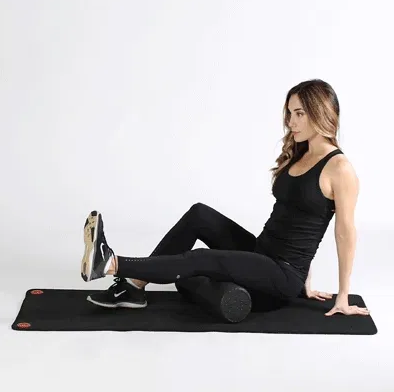
Sit on the roller, aligning it under your glutes.
-
Cross one leg over the other and roll from your hip to just above the knee.
-
Tip: For deeper pressure, lean into the roller with your hands.
-
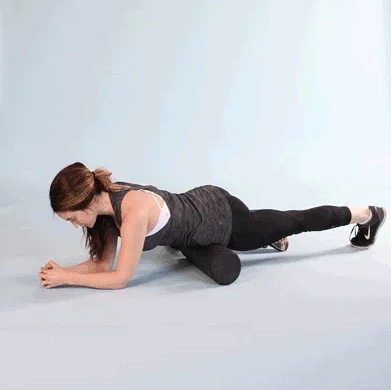
Lie facedown, resting your forearms on the mat.
-
Position the roller under your thighs and roll from hip to knee.
-
Modify: Place one leg over the other for added intensity.
-
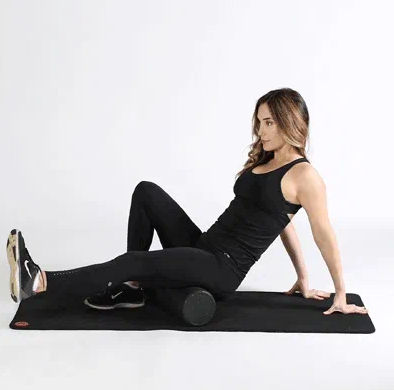
Sit on the roller, shifting your weight onto one hip.
-
Cross your ankle over your opposite knee and apply pressure to the glute muscles.
-
Key Area: Release tightness in the piriformis muscle.
-
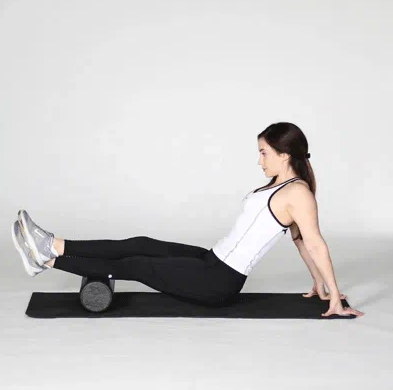
Sit with legs extended and the roller under your calves.
-
Lean back slightly and roll from your Achilles tendon to your knee.
-
Alternative: Stand on the roller for a more advanced challenge.
Common Mistakes to Avoid
-
Rushing: Slow, controlled movements yield better results.
-
Overtargeting pain points: Focus on discomfort, not sharp pain.
-
Neglecting form: Keep your spine neutral and engage core muscles.
Advanced Foam Rolling Tips
-
Combine with yoga poses: Roll before or after stretching for optimal results.
-
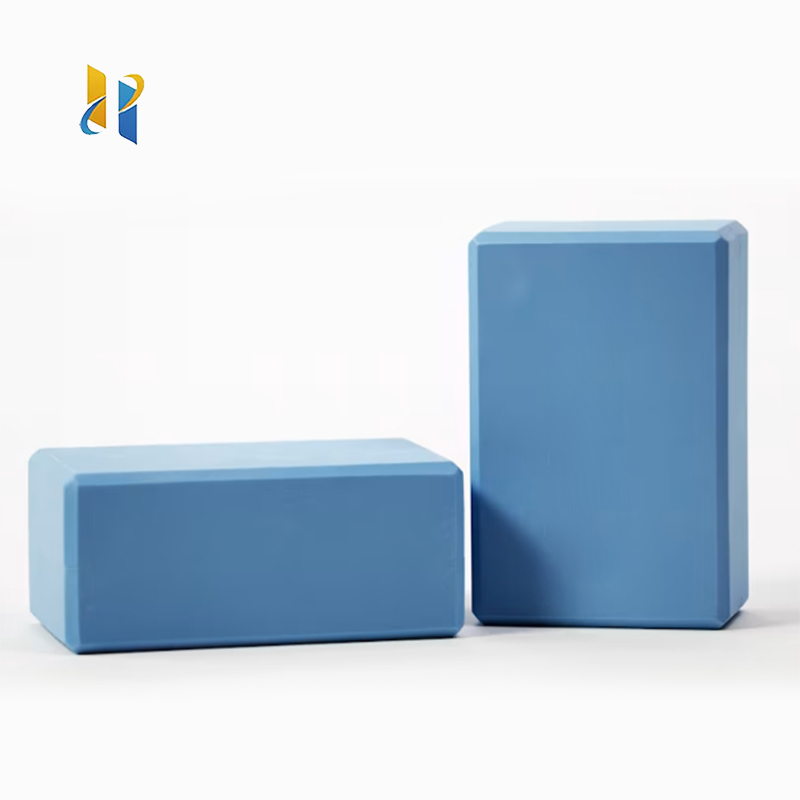
Use props: Add a yoga block under the roller for elevation.
-
Incorporate dynamic movements: Try rolling while performing planks or side bends.
Conclusion
Mastering how to use a yoga foam roller takes practice, but the rewards—improved flexibility, reduced pain, and better posture—are well worth it. Start with 5–10 minutes daily and gradually increase your routine. Remember, consistency is key!

About us
How to Use a Yoga Roller on Your Back
how to use yoga blocks